1 Overview
The Application Management interface can be used to edit and delete applications. The interface is located under the Applications menu:
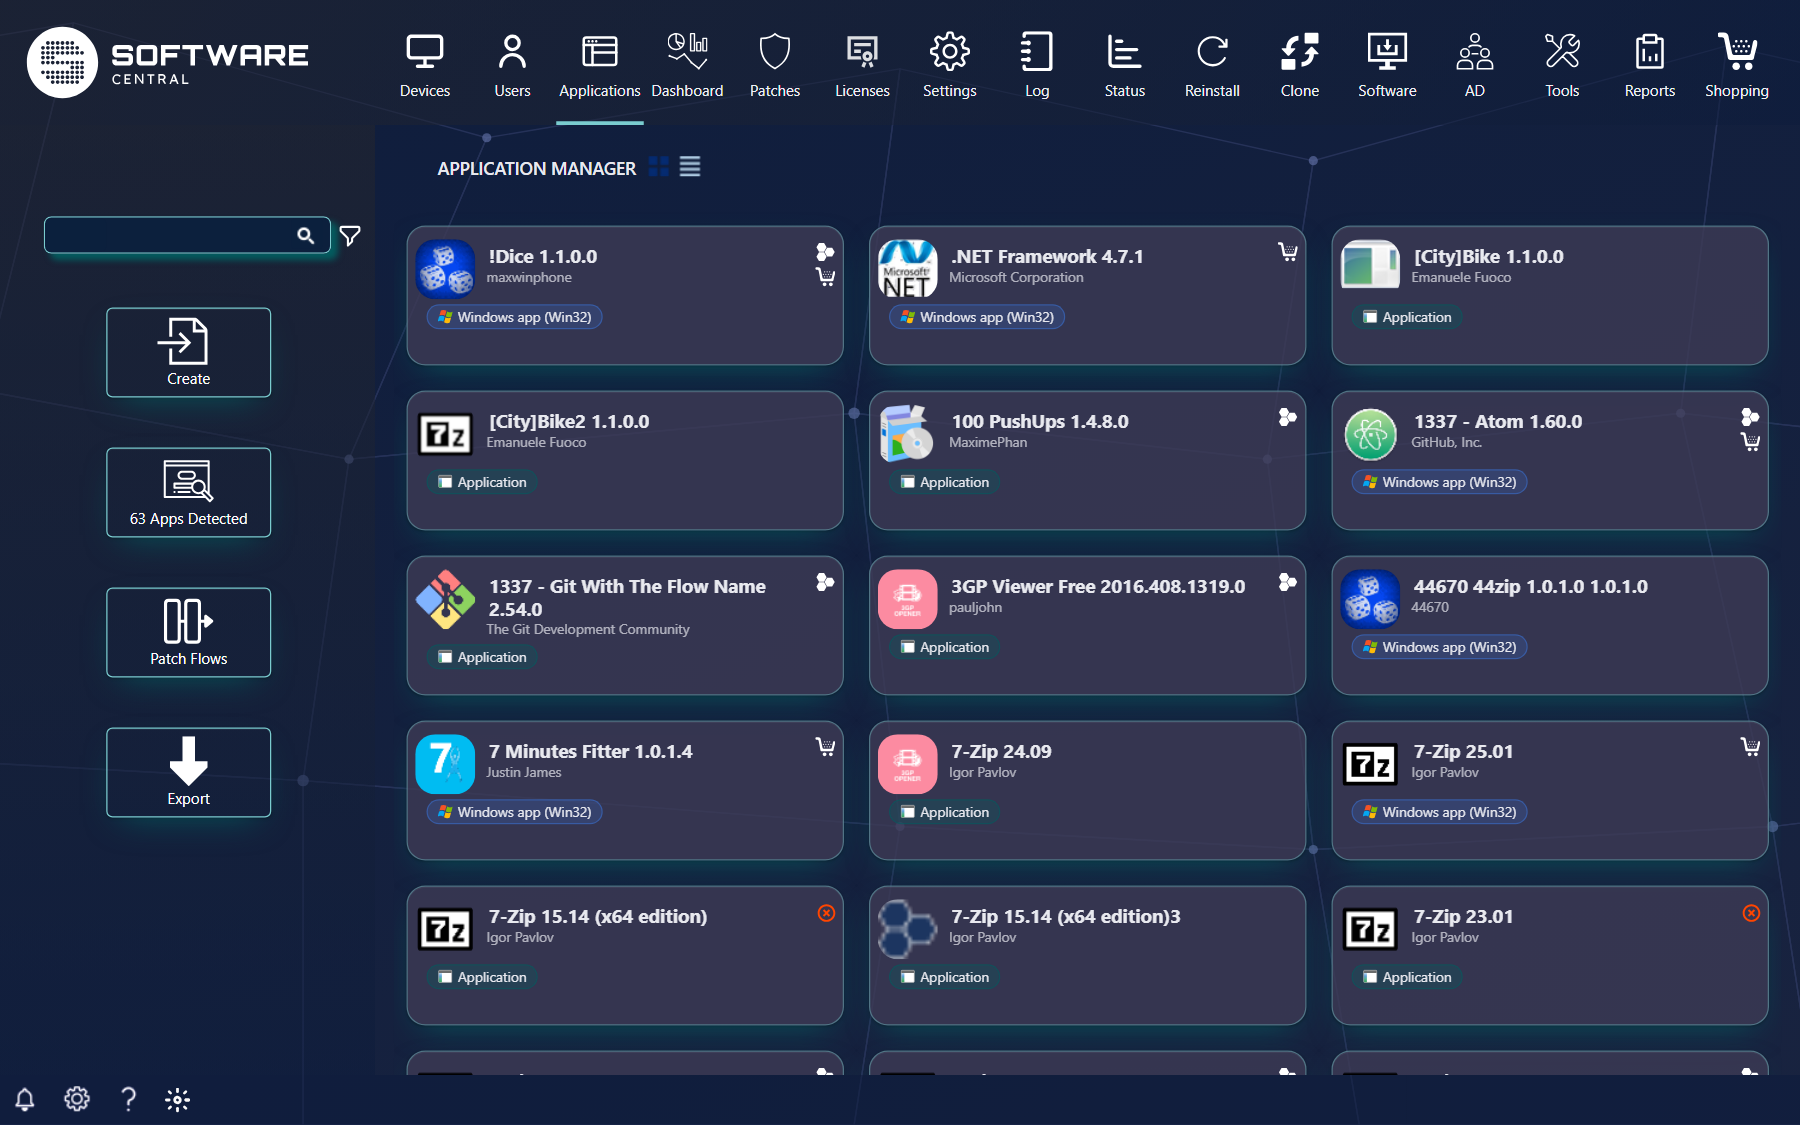
The page shows one card (Gallery View) or one row (List View) per application. At the top right you choose the site, and the Intune tenant if you have more than one. The two small buttons next to the page title switch between Gallery View and List View. SoftwareCentral manages both ConfigMgr applications and Intune applications here.
Gallery View
In Gallery View, applications are displayed as cards with the application icon, name, version, type and status. Click an application to show its details on the right.
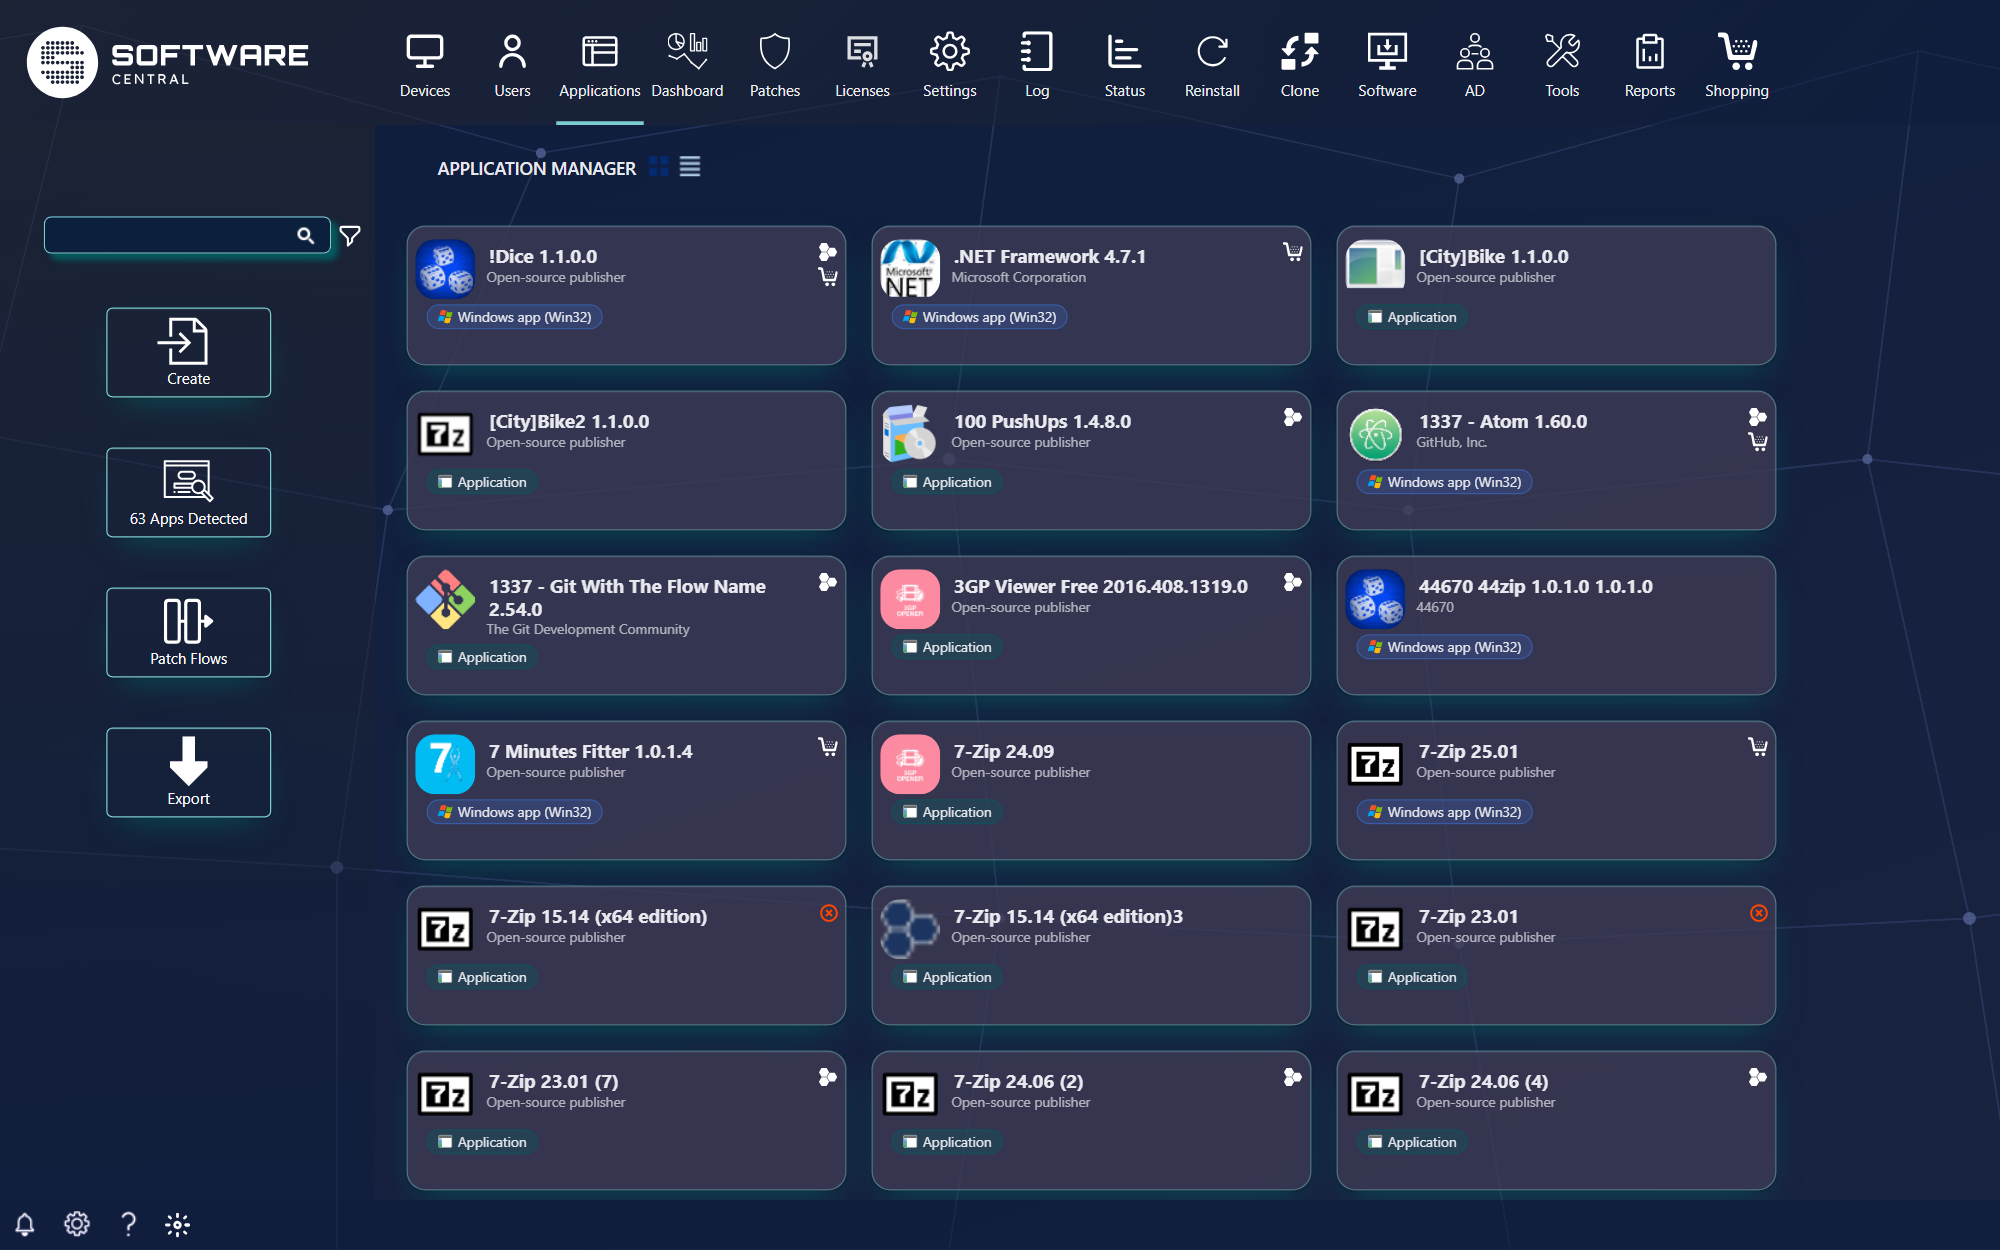
List View
In List View, applications are displayed in a table with columns for name, version, type and status. Click an application to show its details on the right.
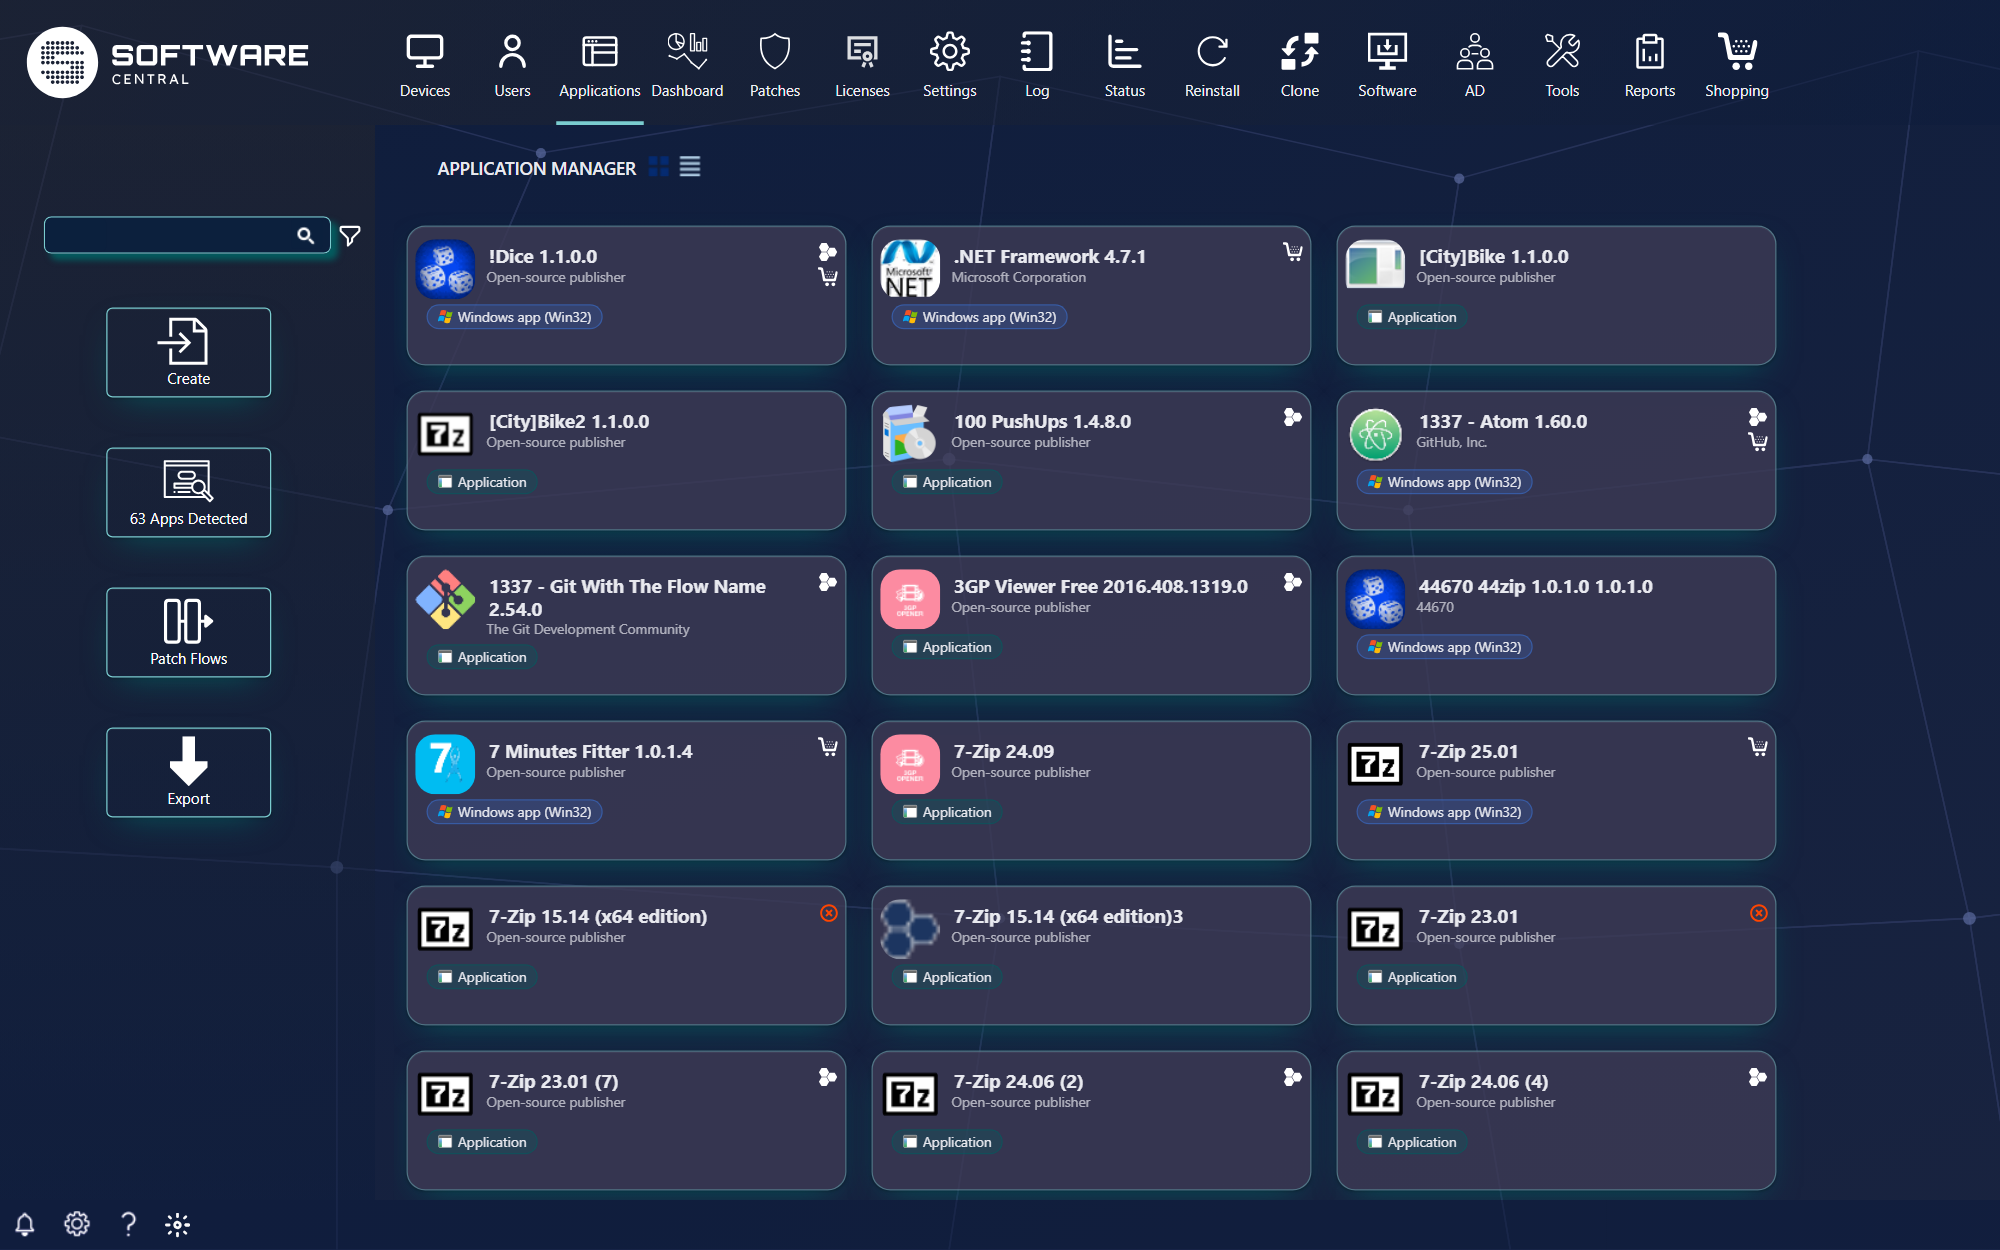
In the left menu you find the search field, the filter, and the tiles Create and, if your role allows it, Deploy Software. Use Instructions... for the help.
Each card or row shows the icon, name, version, type and comment, a status text, and buttons for Edit this application, Shop settings and Show more. Show more opens the details of the application (see below). For the newer Application Manager view of the same page, see Apps – Overview.
2 Search and filter
In the left menu you can find the search field. Use this to type part of or the full name for the application you are looking for; press Enter and each value becomes a token. The funnel icon opens the filter panel:
| Filter | What it does |
|---|---|
| Filter by Type | Only show applications of the ticked types (for example ConfigMgr applications or the Intune types). |
| Filter by Manufactor | Only show applications from the ticked manufacturers (spelled this way in the product). |
| Have License | See applications where a SoftwareCentral licence is configured. |
| Have Shop Orders | See applications where there are orders from the SoftwareCentral Shop. |
With Robopack, the filter panel also has filters for detected apps (status, type and sort order) and for patch flows (Have Patch Flow, Have Update). The pager at the bottom of the list sets how many applications are shown per page.
3 Create
The Create tile opens a Create New panel: Create Application (the five-step Create Application wizard), Create Win32 App (an Intune application) and Create Patch Flow. Which choices you see depends on your role, your licence and whether the installation is Intune-only.
4 Show more: the details of an application
Click Show more. The details open with a column of tabs on the left, a column of action buttons on the right, and Back to return.
| Tab | What it shows |
|---|---|
| Overview | A quick view: log messages, shop and security summaries, install status for devices and for users, and licence status. |
| Deployment | The install status for the application, with a switch between Devices and Users. This replaces the old deployments number; use it to see where the application is deployed and how far the installation has come. |
| Log | Log messages where the application name appears, with filters on importance. |
| Licenses | The licence overview for the application (shown when the licence module is used). |
| Security | The Package Security Groups the application is in; you can change them here. Not in the Application Manager edition. |
| Shop | An overview of shop orders for the application. Not in the Application Manager edition. |
| Replace | Replace this application with another application. |
The action buttons are described in the next section.
5 Action buttons
Each button is only shown if your security role allows it, and some depend on the type of application.
| Button | What it does |
|---|---|
| Edit | Opens the editor (see Edit). |
| Shop Data | Opens the shop settings of the application (the same as the shopping cart button on a card). |
| Replace Application | Replaces the application with another; see Replace Package / Application. |
| Retire / Reinstate | ConfigMgr applications only. See Retire. |
| Disable Deployments / Enable Deployment | ConfigMgr applications only. See Disable Deployments. |
| Migrate To Intune | ConfigMgr applications that have not been migrated, and only if Intune is enabled. See Migrate to Intune. |
| Assign software / Remove software | Opens a window to assign the application to devices or users, or (for ConfigMgr applications) to remove it from them. |
| Robopack Status / Update from Robopack | For applications imported from Robopack: shows the import status, and downloads the same version again to update the files, command lines and detection method. |
| Delete | See Delete. |
6 Migrate to Intune
SoftwareCentral can automatically convert your existing MSI / Script applications to IntuneWin packages and upload them to your Intune tenant making the applications available to your Intune enrolled devices.
The Migrate to Intune button will open a window where you can choose which deployment type to upload. The top of the window shows the application icon, its size and an Estimated migration time (from Less than a minute up to More than 10 minutes).
SoftwareCentral will convert all settings from the MECM (SCCM) application to Intune settings, including detection methods, return codes, command lines and much more. Note that application dependencies are not automatically migrated. A warning will display if any dependencies are configured on the selected deployment type.
| Field | What it does |
|---|---|
| Deployment Type | The deployment type to migrate. Only MSI and script deployment types are supported (otherwise: Unsupported deployment type), and the setup file must be of a supported file type. |
| Template | You may optionally select a template with predefined settings for Intune applications. With none, the settings from the MECM application object are used. |
| Display Name in MEM, Install Command Line, Uninstall Command Line | Filled in from the application; all three are required. |
| Keep a local copy of the generated IntuneWin file. | Keeps the generated file in the Uploads\Packages folder of the SoftwareCentral installation. |
| Assign the new Win32 application to Package Security Groups. | Ticked by default: the new application is put in the same Package Security Groups as the ConfigMgr application. |
When you click on the Migrate button, the process will start in the background. You can follow the progress in the Notification popup or from the log.
Once the application has been migrated to Intune, you can manage it from Intune Applications.
7 Edit
The Edit button opens a new window where all settings for the application can be applied.
In the top you have 7 different tabs. Click Save to keep your changes or Cancel.
General
In the general tab you can modify the application icon (click the icon), the manufacturer, name, version, default language and the administrator comments. The checkbox Allow this application to be installed from the Install Application task sequence action without being deployed lets Software Groups install it. A name that is empty or used by another application is refused.
Deployment Types
From this tab you can add, edit or delete deployment types. The list shows Name, Revision, Language, Technology and Content, with Edit and Remove.
The blue reload button will update the content of the deployment type. Note that this may cause clients to be updated.
If you edit a Deployment type, a new window will open. From here you can modify everything, just like you know it from the SCCM server.
If you add a deployment type (Add Deployment Type), you will be taken through a wizard, much like the Application Wizard.
Distribution
From the distribution tab you can distribute the application and set its distribution settings: how content is distributed (Automatically download content when packages are assigned to distribution points, Download only content changes to the distribution point or Manually copy the content in this package to the distribution point), Enable for on-demand distribution, Distribute the associated dependencies to the selected distribution points and distribution point groups, and the distribution points and distribution point groups to use.
Security
From the security tab, you can assign the application to Package Security Groups. The tab lists the groups and their security roles.
Supersedence
From the supersedence tab you can configure supersedence relationships: Add New to pick an application that supersedes this one and map the deployment types, and Remove to delete a mapping. The list shows the Application, Old Deployment Type, Replacement Deployment Type, Active and Uninstall.
References
From the references tab, you can see other applications this application is referenced or superseded by: choose Applications which depend on this application or Applications which supersede this application.
Deployment Settings
From the deployment settings tab you can configure the deployment settings for this applications deployments. Note that if you make changes here, it will apply to all deployments for this application, including any deployments you have manually created in the SCCM server. If the application is deployed to additional collections, a red warning says so.
| Setting | What it does |
|---|---|
| User notifications | Display in Software Center and show all notifications; only show notifications for computer restarts; or hide in Software Center and all notifications. |
| Override Service Windows | When the deadline is reached, allow the application to install or uninstall outside the maintenance window. |
| Allow Repair | Lets end users attempt to repair the application. |
| Implicit Uninstall | Uninstall the application if the targeted object falls out of the install collection. |
| Comply with Implicit Uninstall | Removes or adds uninstall collections to match the Implicit Uninstall setting. |
| Rename folders and collections | Renames the folders and collections when the application is renamed. Your administrator can switch renaming off in Settings. |
8 Retire
Use the Retire button in the details of an application to retire it. Retired applications are shown with a Reinstate button to reinstate the application, and their name is shown in red.
A window asks Do you want to retire the application. Retired applications are not shown in helpdesk interfaces in SoftwareCentral, and they cannot be mended in Mend Packages and Applications.
If Remove application from software groups when retiering is ticked in Settings, the window first lists the software groups the application will be removed from. It is not added back to them when you reinstate it.
9 Disable Deployments
The Disable Deployments button will disable all deployments for the given application. This can be useful if you make an error when creating a deployment to a large number of users or devices and want to stop it quickly.
A confirmation window will open where there also are an option to notify all clients that the deployments have been disabled (Notifify all clients with this deployment): a client notification is sent to the devices in the install collections.
If clients are not notified, the deployments will continue until the clients next heartbeat.
The button then changes to Enable Deployment, which turns the deployments on again. Deployments to users that are available (not required) cannot be disabled.
10 Delete
Delete an application by clicking on the Delete button.
A confirm dialog will show before the application is deleted. The application is deleted together with its folders and collections.
The "Delete source files" checkbox will, if checked, remove the source files from the package share. It is only available when the application has a source folder that exists and is not the package share itself; the folders that will be deleted are listed in the window.
11 See also
12 Best practice
- Use Show more › Deployment and Log to check an application before you change or retire it.
- Retire instead of delete when old installations still exist, and replace rather than delete when a new version is available.
- Tick Delete source files only when no other application uses the same source folder.
- Keep the “notify clients” option ticked when you disable deployments in an emergency, so clients stop sooner.
- Test Migrate To Intune with a template and a small pilot group before migrating many applications.