1 Overview
The Application Wizard in SoftwareCentral is used to import applications into the SCCM. The wizard is found under “Applications/Application Wizard”. The Create tile in Application Management opens the same wizard in a window.
It is a simple wizard in 5 steps that will automatically create the application, the collections, deploy the application to those collections and distribute the content. The steps are Template, Source, Files and Naming, Detection and Overview; use Next and Previous to move between them, or Cancel to leave without creating anything.
2 Template
The first page and step is the “Template” step. Select a template if you want to use predefined settings or click the “Next” button if you want to use the default settings.
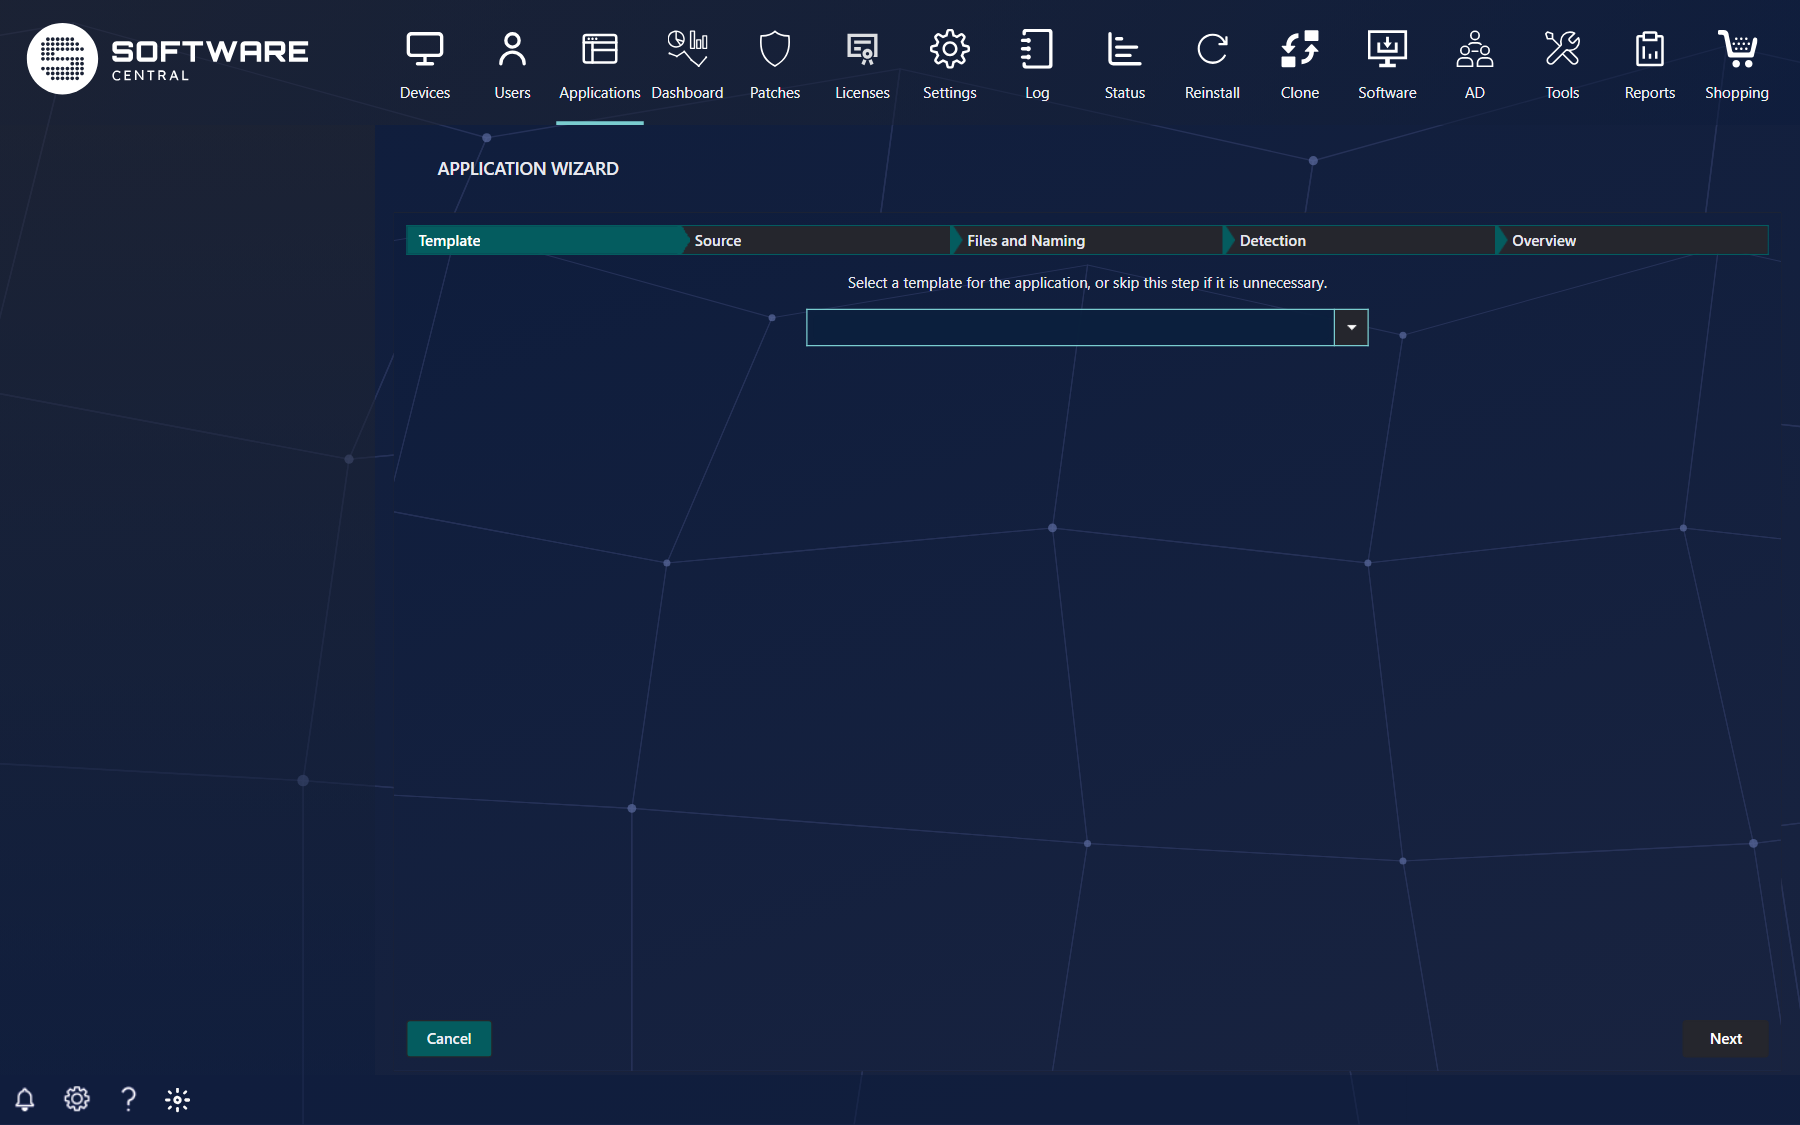
As soon as you pick a template in the list, the wizard moves on to the next step by itself. If an administrator has chosen a default application template under Settings › SoftwareCentral › Interface Settings, it is selected for you and you start in the file selection step instead. See Manage Application Templates.
3 Source
In step 2 you must select the folder where the application root files are located. If the files are not present on the share yet, you can upload them directly in the file explorer.
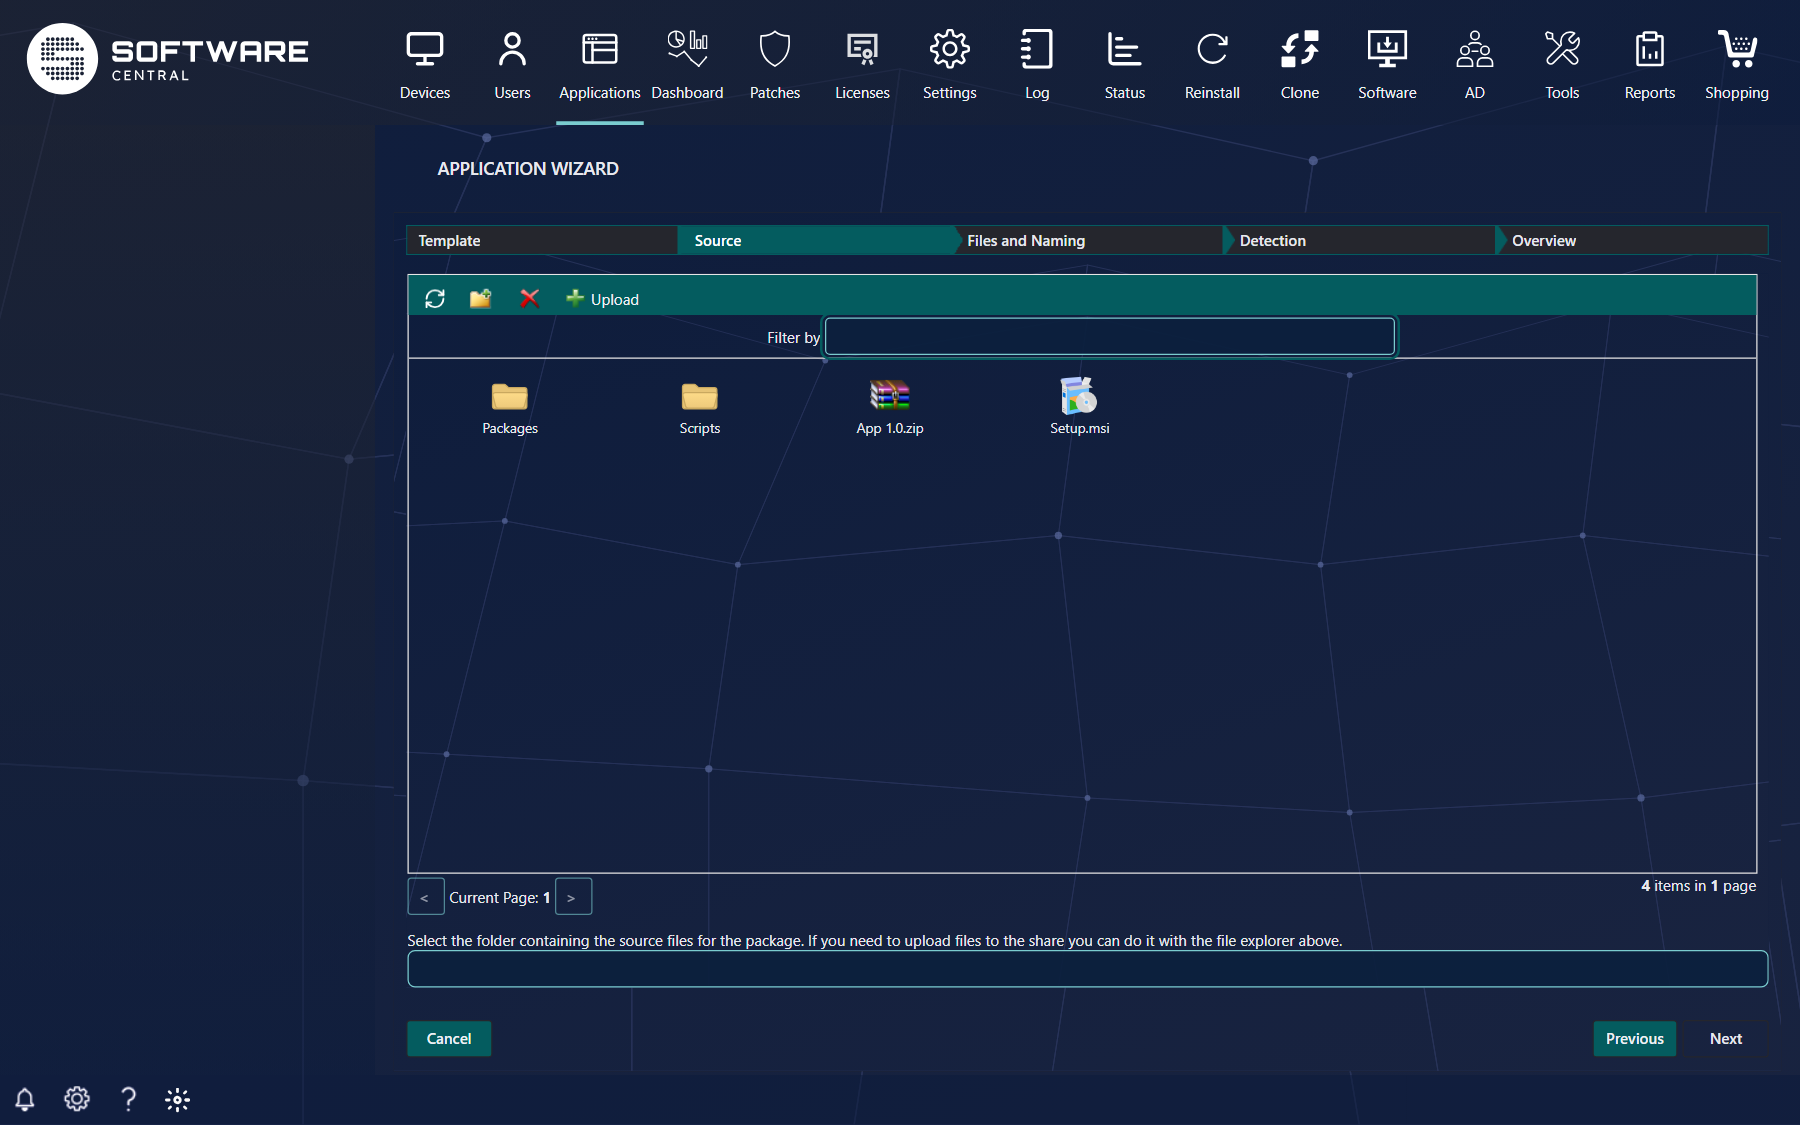
| Part of the explorer | What it does |
|---|---|
| Refresh | Refreshes the current view – for instance if you have added a new folder using Windows Explorer. |
| New folder | Creates a new folder. |
| Delete | Deletes a file or folder. |
| Upload | Uploads one or more files. The maximum file size allowed is 1 GB. If you upload a zip file, it will automatically get extracted. |
| Search box | Searches for files and folders in the folder. |
| Pager | Only 100 files or folders can be displayed at once. Use the pager (< and >) to change page, or search for the item you are looking for. |
| Path box (below the explorer) | The path to the selected root folder is written here. A folder is selected when it is highlighted or opened. |
The explorer also has keyboard shortcuts: Ctrl+R refresh, Ctrl+N new folder, Ctrl+U upload, Ctrl+Delete delete, Enter open and Ctrl+Backspace back.
You cannot continue without a folder: You must select a root folder is shown if none is selected, and Invalid folder if you selected the package share itself rather than a folder in it.
4 Files and Naming
In step 3 you must select the files used to install the application and name the application.
SoftwareCentral will automatically try to detect the files and the name. If you wish to discard the autosuggestions, click on the “Discard Auto Suggestions” button.
First choose the Type of installer. The fields below change with the type:
| Type | Files you give |
|---|---|
| Windows Installer (*.msi file) | Installation program (Browse..., and Add Transform File once an MSI is chosen), Uninstallation program (if left empty, SoftwareCentral uses the uninstall command for the MSI’s product code) and, from ConfigMgr 1810, Repair program. |
| Script Installer (scripts and executables) | Installation program, Uninstall program and, from ConfigMgr 1810, Repair program, each with Browse.... |
| Microsoft Application Virtualization 5 | App-V File, Deployment Configuration (xml) and User Configuration (xml). |
| Windows app package (*.msix) | Installation program (the MSIX file). |
Under Naming enter Manufacturer, Name, Version and Language. If you wish to read the name from msi file in the source folder, you can click on the “Read name from MSI” button. This will open a new window where you can select which msi the name should be read from.
You must define an installation program, and a name that is not already used by another application. The messages No installation program defined, You must enter a name for the application, This name already exists and Invalid application name keep you on this step until it is fixed.
Tip: You can add the name of the application by writing: {manufacturer} {applicationname} {version} {language} in the installation and uninstall program textboxes.
E.g.: If you need the setup process to write to a log with the application name, you can write: “…Logs\{applicationname}.log”.
5 Detection
In step 4 you must define a detection method for the application. SoftwareCentral will, if possible, auto suggest a detection method.
For an MSI or script installer the step holds the detection rules: either Configure rules to detect the presence of this application (use Add, Edit and Remove, and Group / Ungroup to combine rules) or Use a custom script to detect the presence of this deployment type. A detection method is required before the application can be created: A valid detection method is required. Click Next to revalidate.
6 Overview
In step 5 you get a short overview of what is about to be created. The textboxes which aren’t grayed out, can be modified. You can also change the icon for the application as it will be displayed in the SoftwareCentral Shop and in the SCCM Software Catalog.
| Field | What it is |
|---|---|
| Icon / Browse Icon... | Click the icon or the button to choose another one. |
| Full application name | The name as it will be displayed in SoftwareCentral (read-only). |
| Description | Only visible in the SCCM console. Starts as Created by SoftwareCentral; if your administrator has enabled it, the name of the user who created the application is added. |
| Application template and Selected root folder | Read-only: what you chose in steps 1 and 2. |
| Collection names | The names of the install and uninstall device collections, and the install and uninstall user collections. You can change the first part; the suffix is mandatory. User collections are left out if the template (or a setting) says not to create them, and the uninstall device collection is left out if the template uses Implicit Uninstall. |
| Distribution Points and Distribution Point Groups | Where the content will be distributed to (from the template). |
Click on the “Create Application” button to create the application. It is created in the background; follow the progress in the log.
Once the application has been created you can go to the Application Management interface to make any advanced setting you may need.
7 See also
8 Best practice
- Put the files for each application in its own folder on the package share, and select that folder as the root folder, so the wizard can suggest the installer and the name.
- Let Read name from MSI and the auto suggestions fill in the naming, then check the version and language.
- Check the detection method carefully: it decides whether SoftwareCentral thinks the application is already installed.
- Use a template with the distribution points and Package Security Groups you normally need, and ask your administrator to set it as the default.