1 Open the localhost site
Go to the Internet Information Services (IIS) Manager. Locate the SoftwareCentral site and click Browse *:8080 (https).
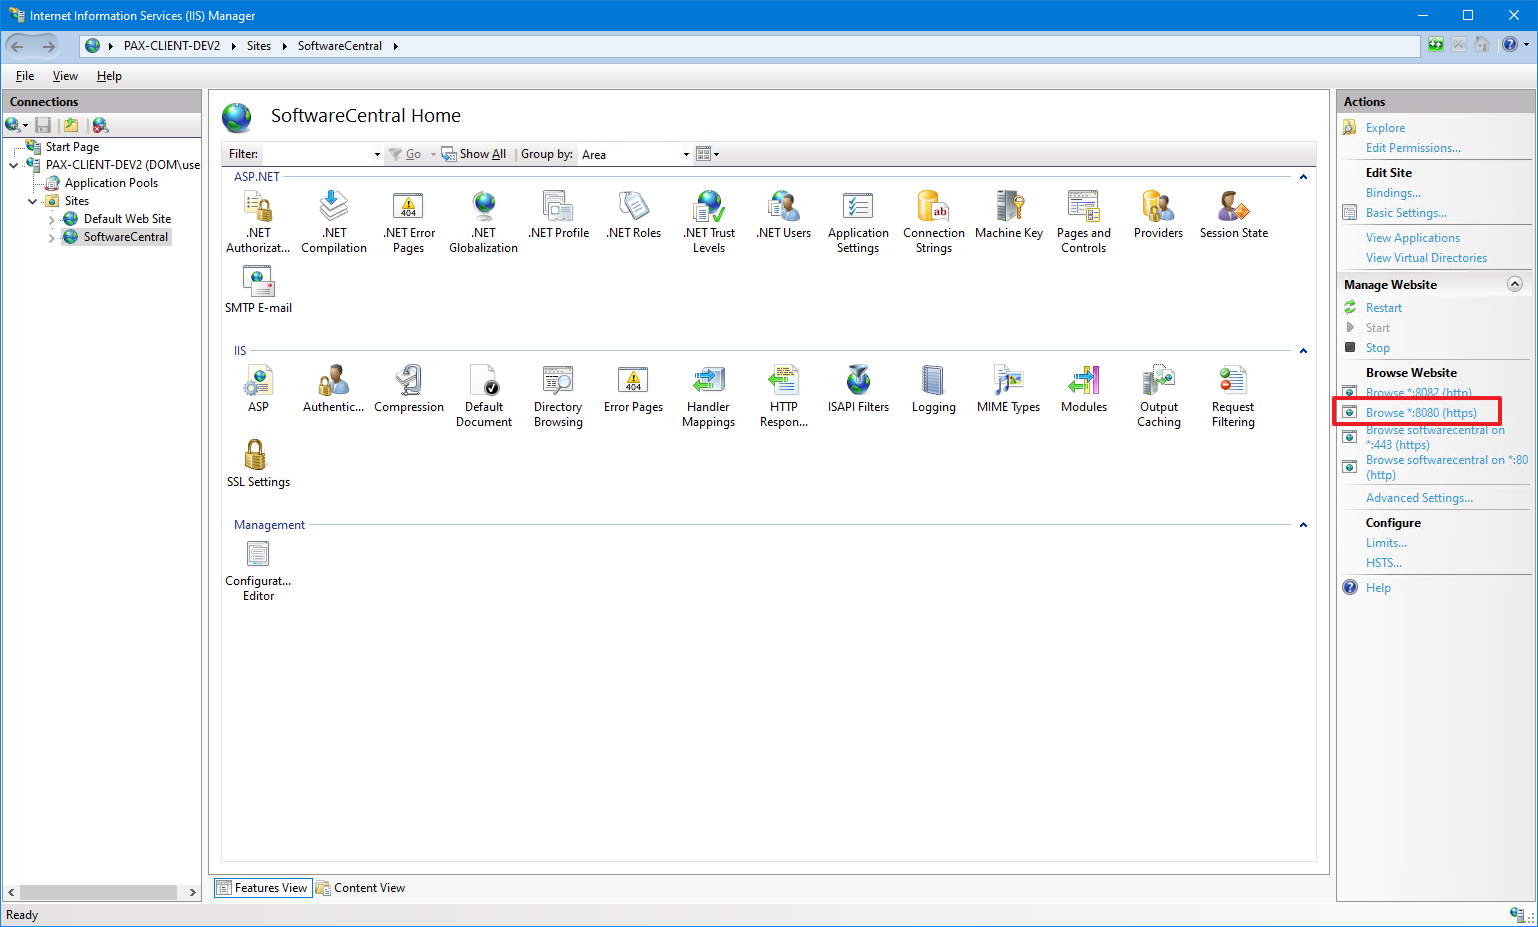
SoftwareCentral launches in your browser. Depending on your authentication type you may be prompted to sign on. If you use Azure OpenID, you may be prompted to accept sign-in on behalf of your organization — accept that.
2 Database connection
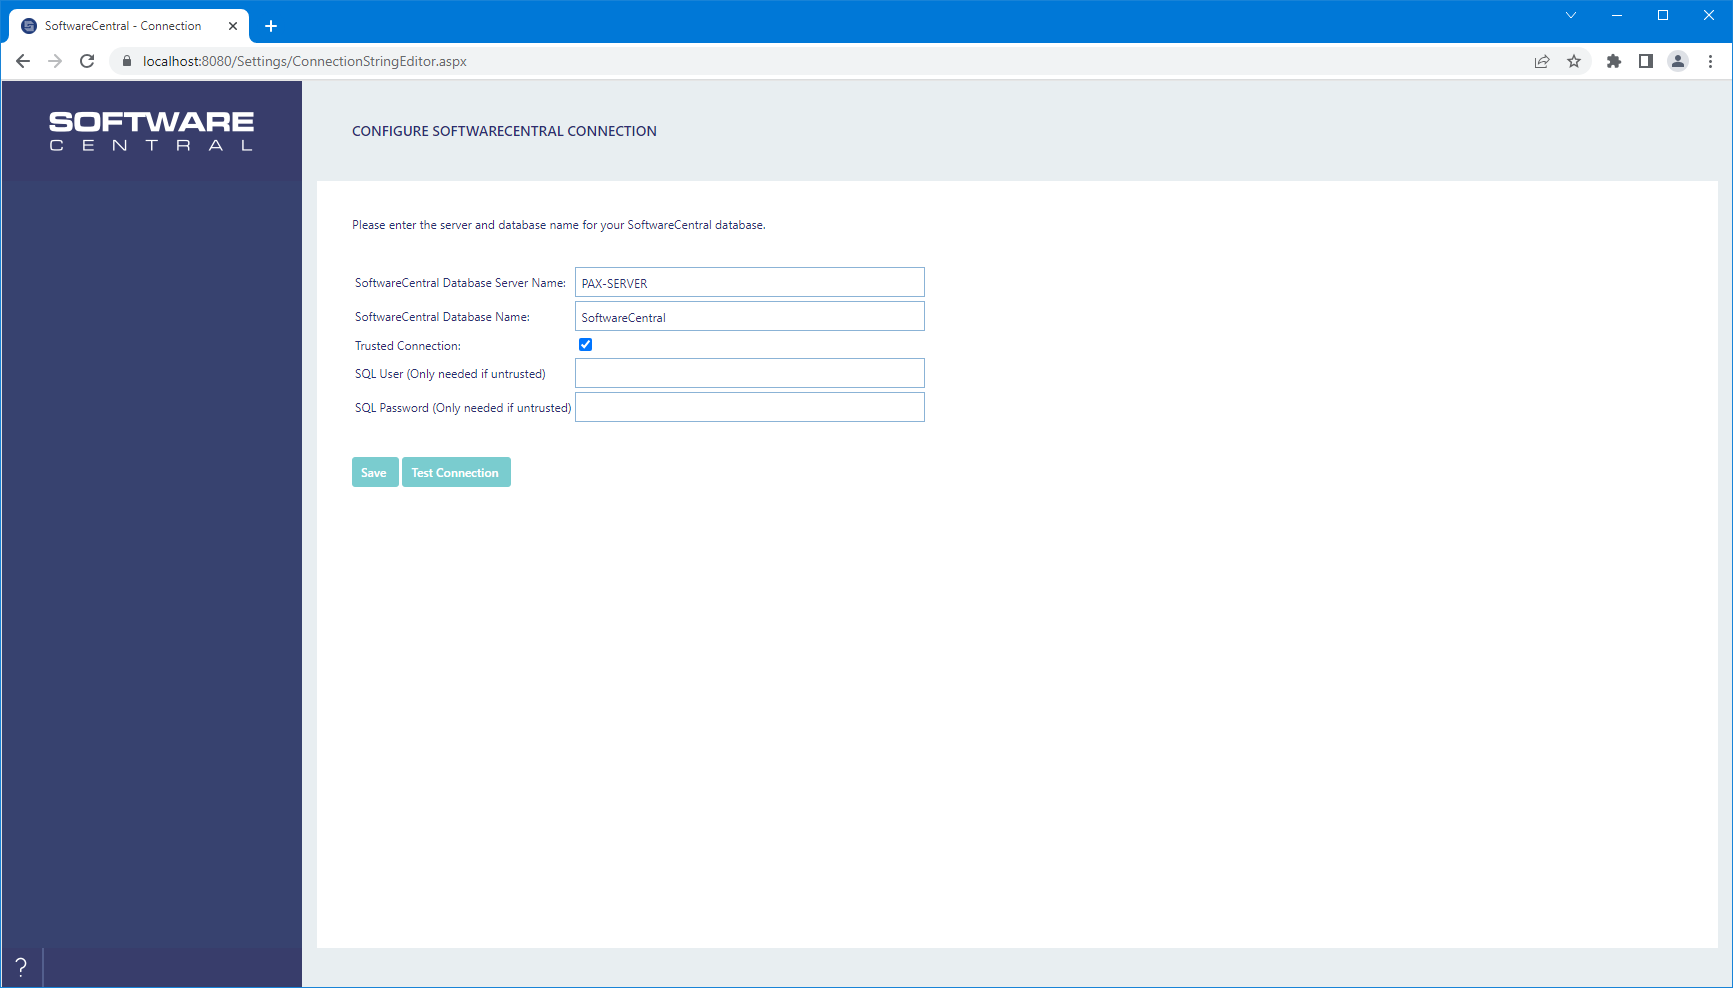
The first screen is the database connection screen, already populated with your database information. Test the connection to verify that the SoftwareCentral web site can reach the database. Once successful, save the configuration and proceed.
3 Azure / Entra Intune configurator
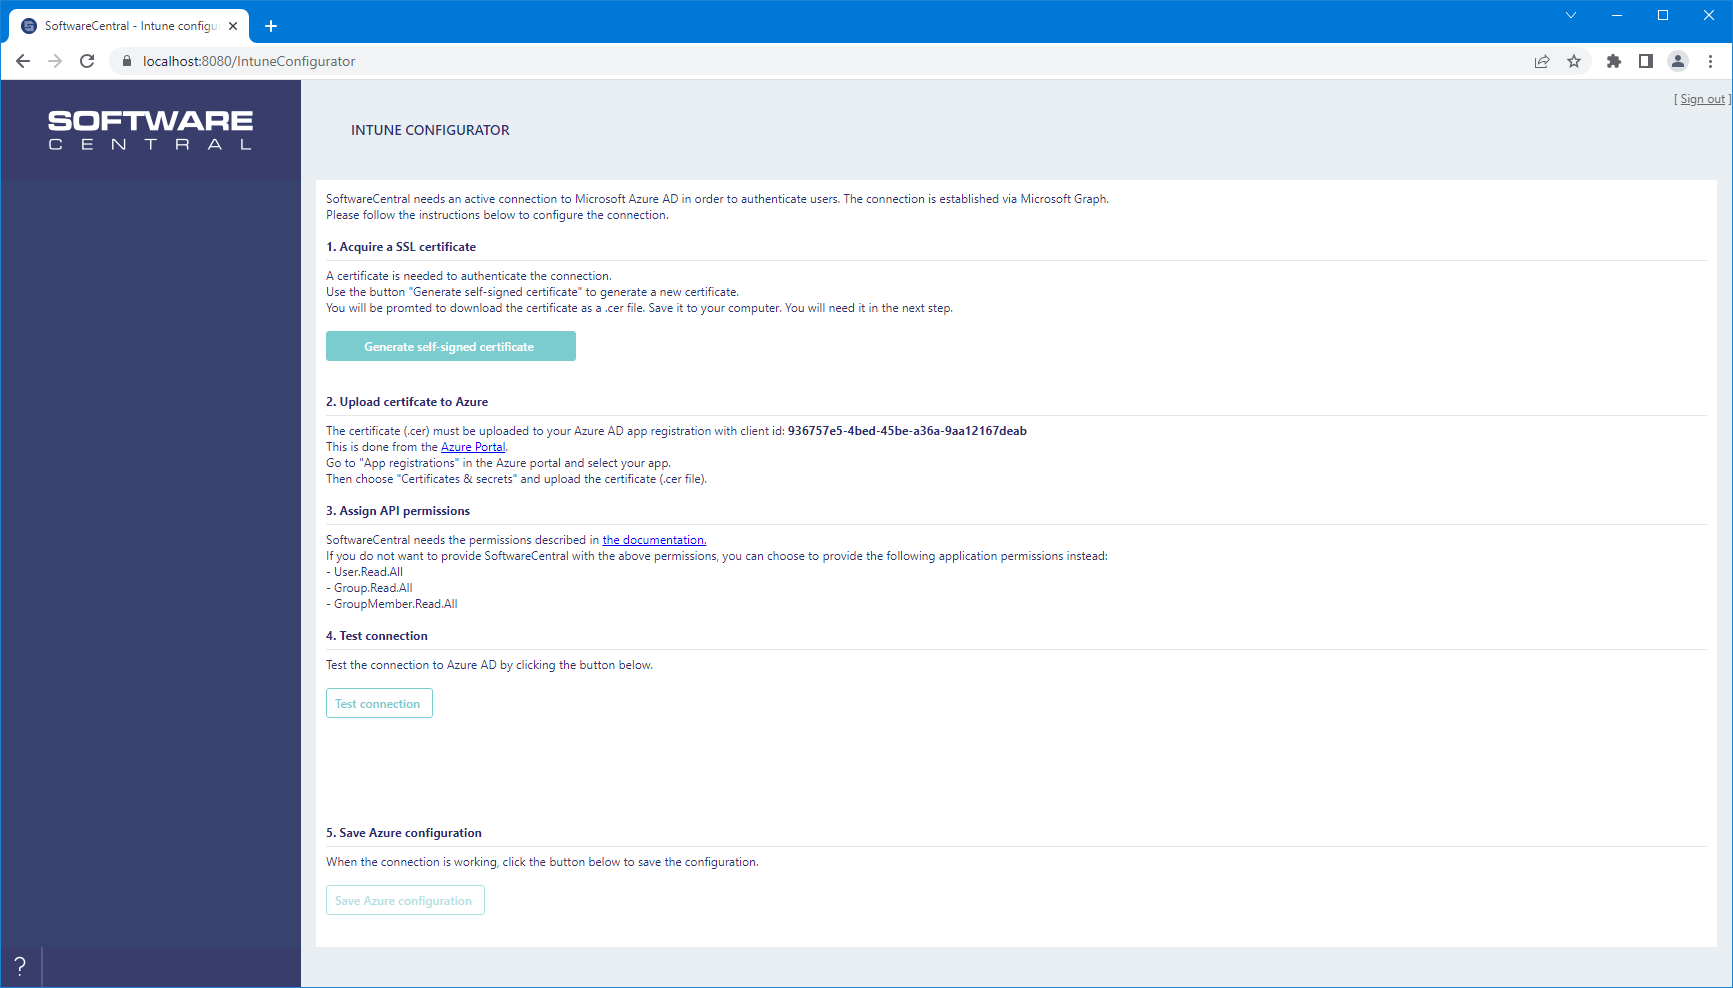
If you chose the Intune option but did not configure the Intune settings during installation, you now reach the Intune configurator. If you do not see this screen, proceed to the next step.
- Generate a new certificate and upload it to the Azure app registration. Follow the description and links in the interface.
- Assign the required permissions to the app registration and test the connection.
- Once successful, click Save Azure configuration and proceed.
4 Administrator group
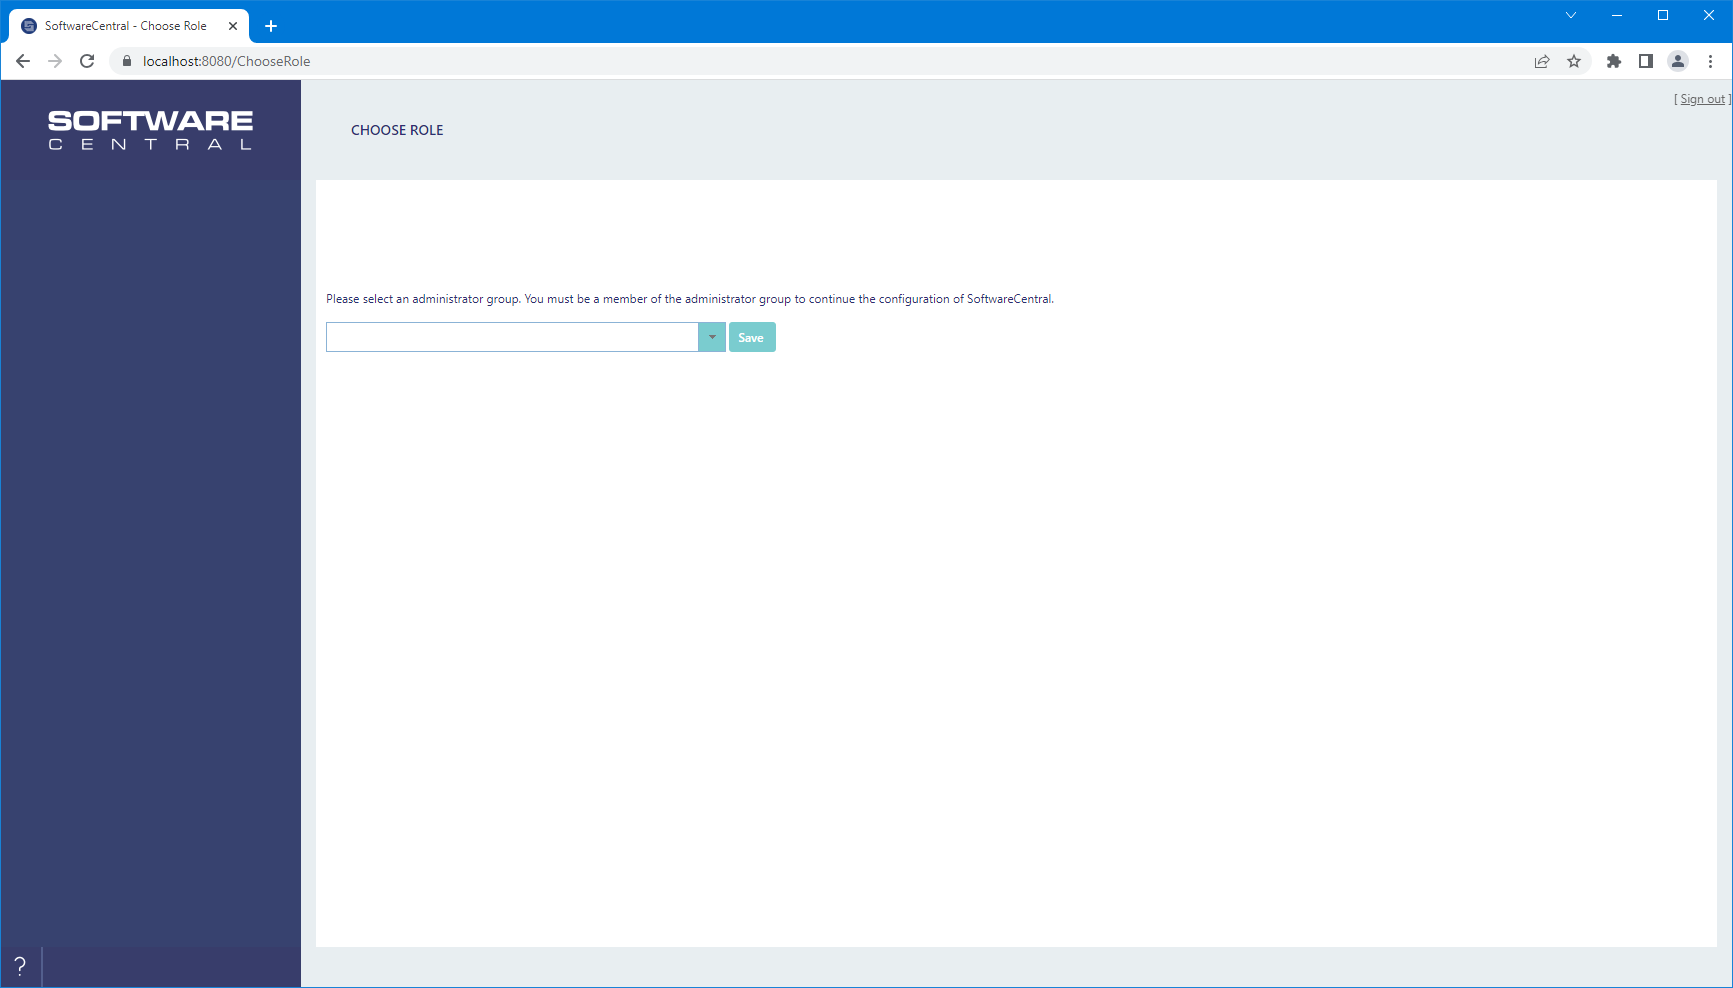
Next, choose an administrator group. You must be a member of this group. If you use Entra ID, you also see an option to create an administrator group — you are automatically added to it when it is created in SoftwareCentral. Select the group and click Save.
5 SoftwareCentral license
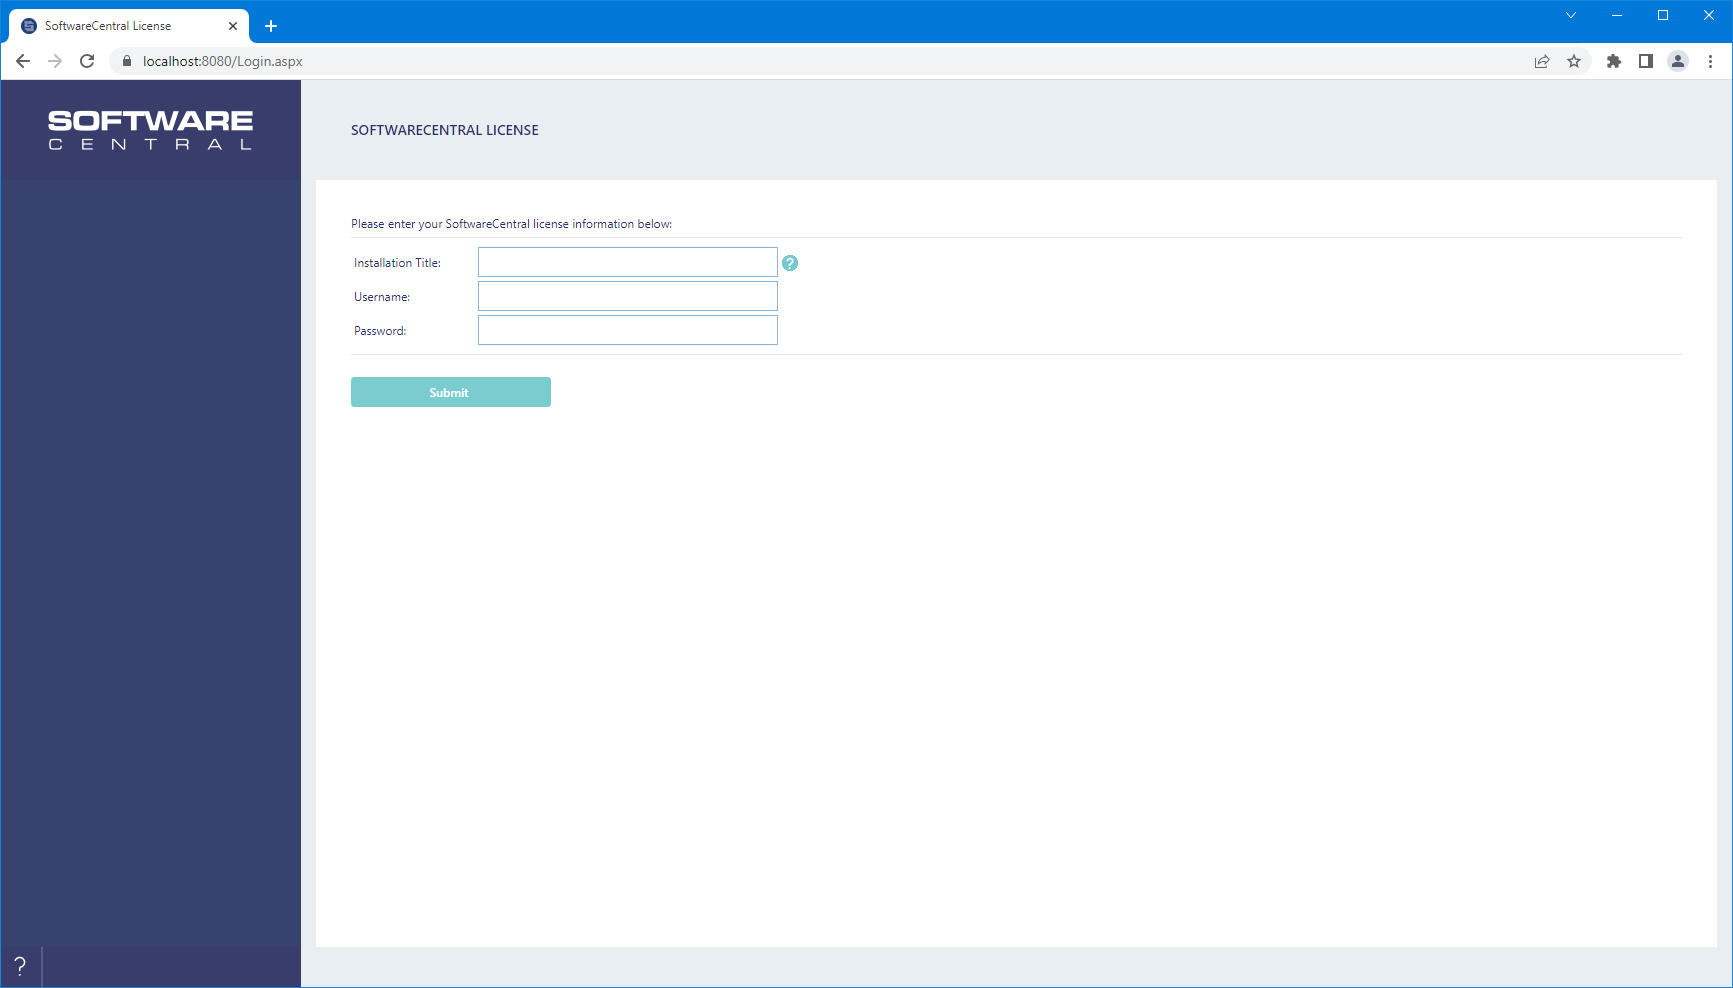
Enter the license for SoftwareCentral. If your installation has internet access, enter the user name and password provided by your retailer. The Installation Title helps identify your installations if you have more than one.
If your installation is offline, you see an installation key. Send this key to your retailer, who returns your offline license key. You cannot proceed without a valid license.
6 Verify settings
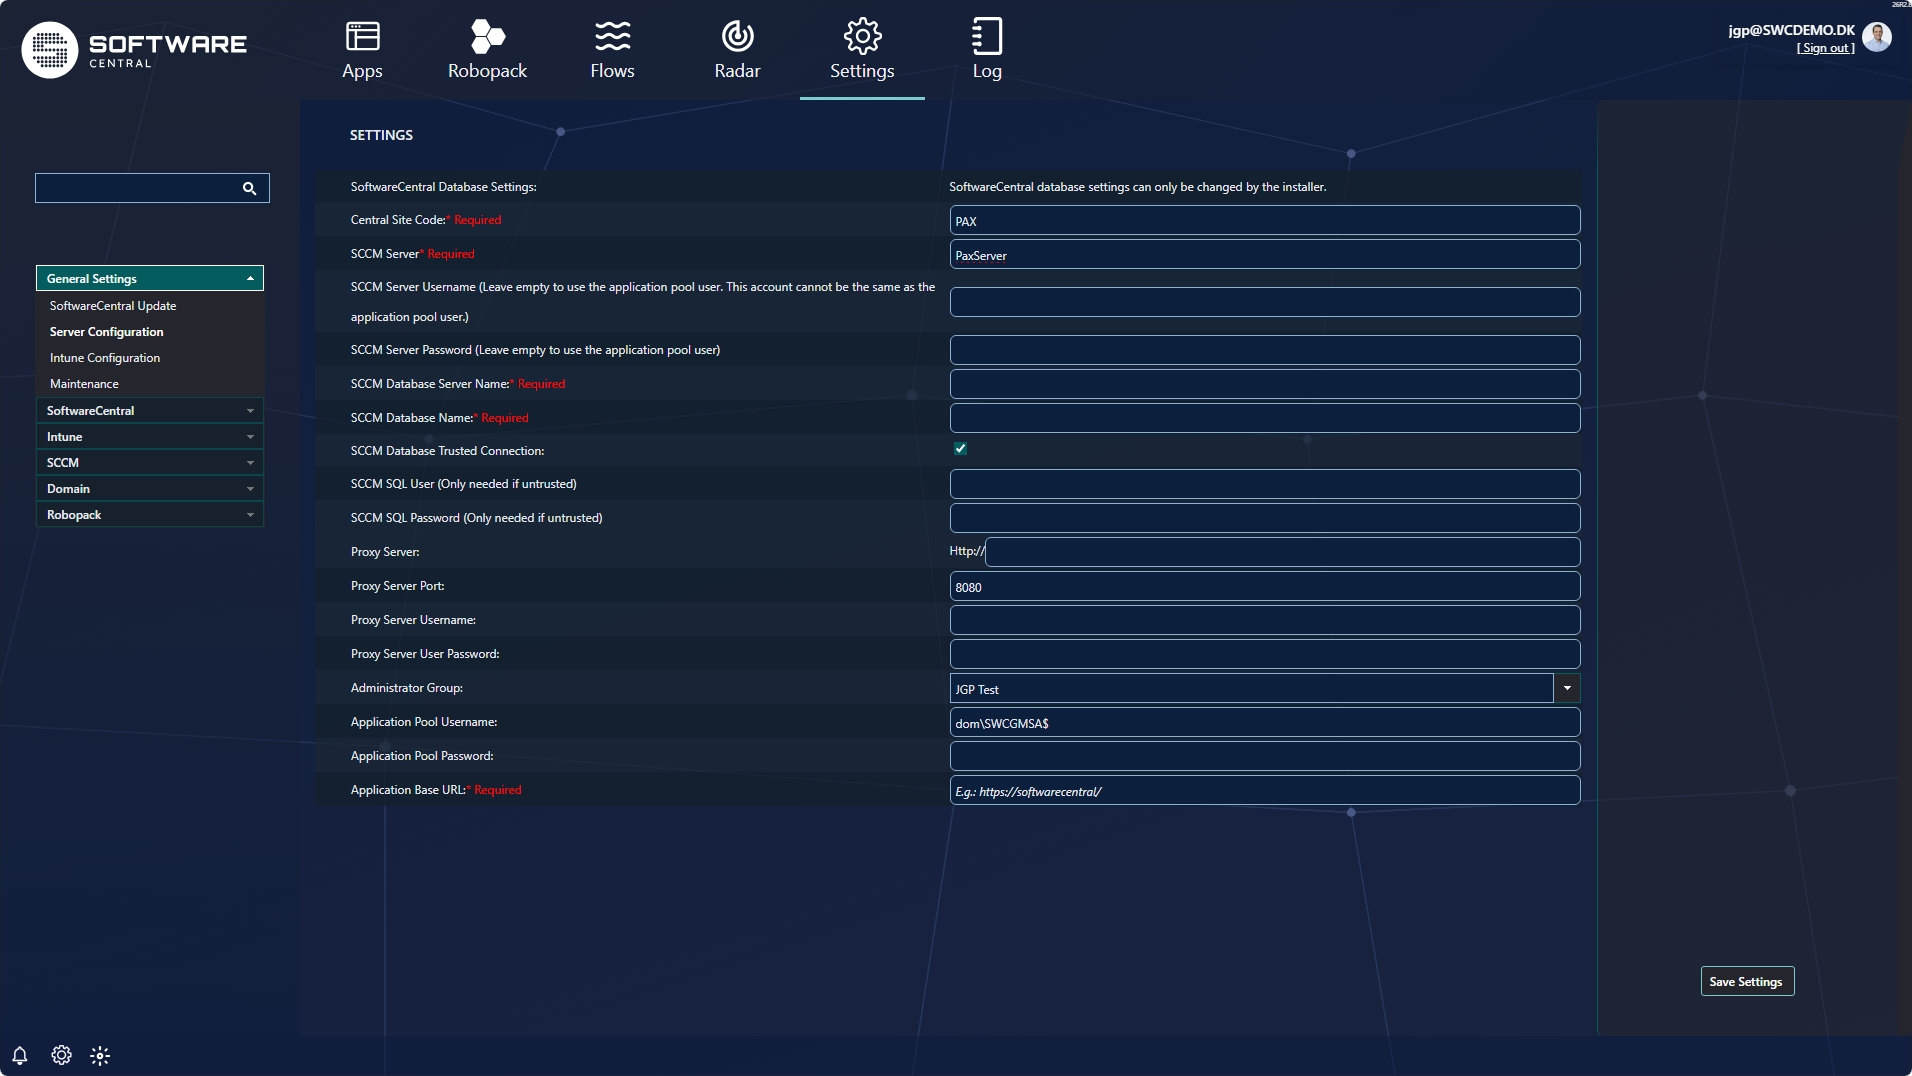
You are redirected to the SoftwareCentral main interface and configuration menu. The interface and the available or required fields vary depending on your configuration. Any required settings that are missing are highlighted in red.
Intune-only installations usually only need the following setting:
- Application Base URL — the standard base URL to SoftwareCentral, for example
https://softwarecentral/
SCCM Folders and Collections ConfigMgr
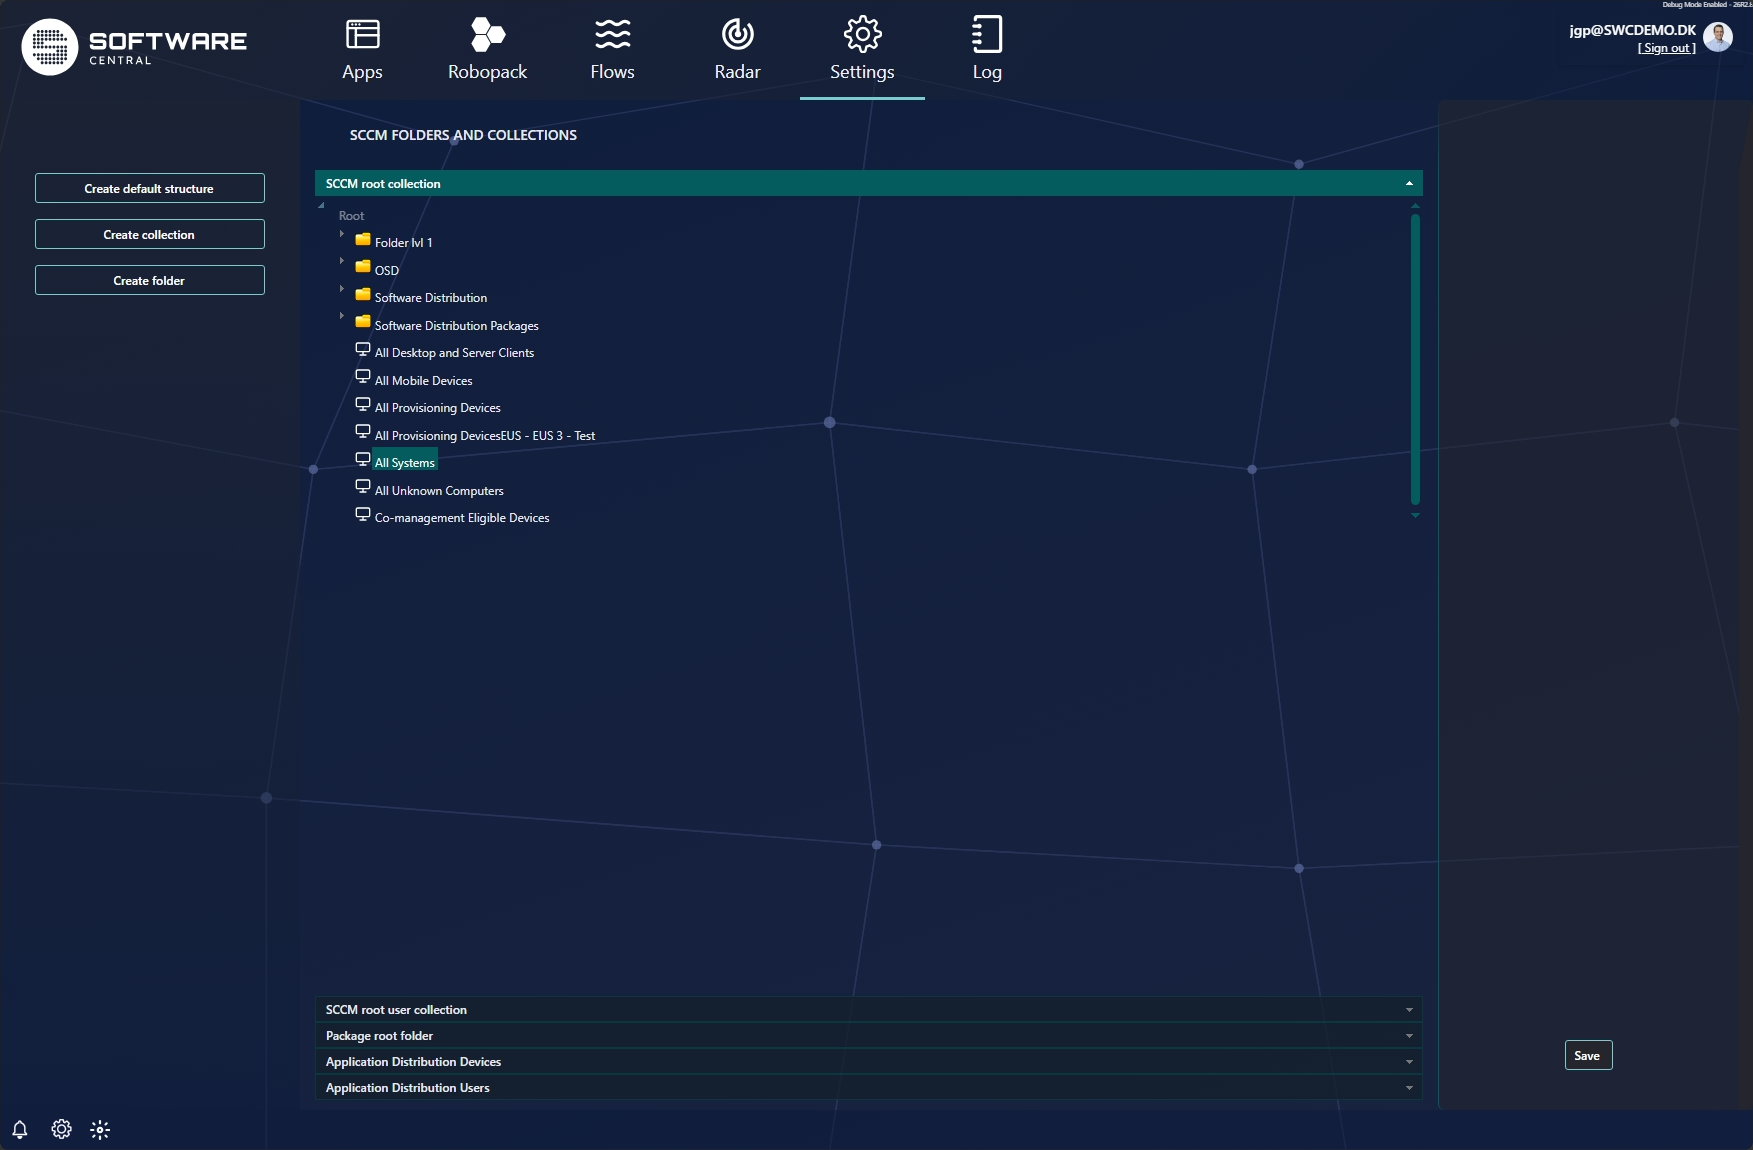
After you save the mandatory settings, go to Settings → SCCM Folders and Collections and set up the default collections and folders. SoftwareCentral uses this structure to find the correct collection to use when it creates, deploys and reads packages and applications.
Assign each root by selecting a node in the tree and saving it:
- SCCM root collection (devices) and SCCM root user collection
- Package root folder
- Application Distribution Devices and Application Distribution Users
Use Create default structure to have SoftwareCentral build its own default structure automatically, or point the roots at your existing structure and use Create collection / Create folder as needed.
For a full explanation of the structure SoftwareCentral expects — and how to use your own — see Default Collection Structure and Custom Collection Structures.
7 SoftwareCentral service
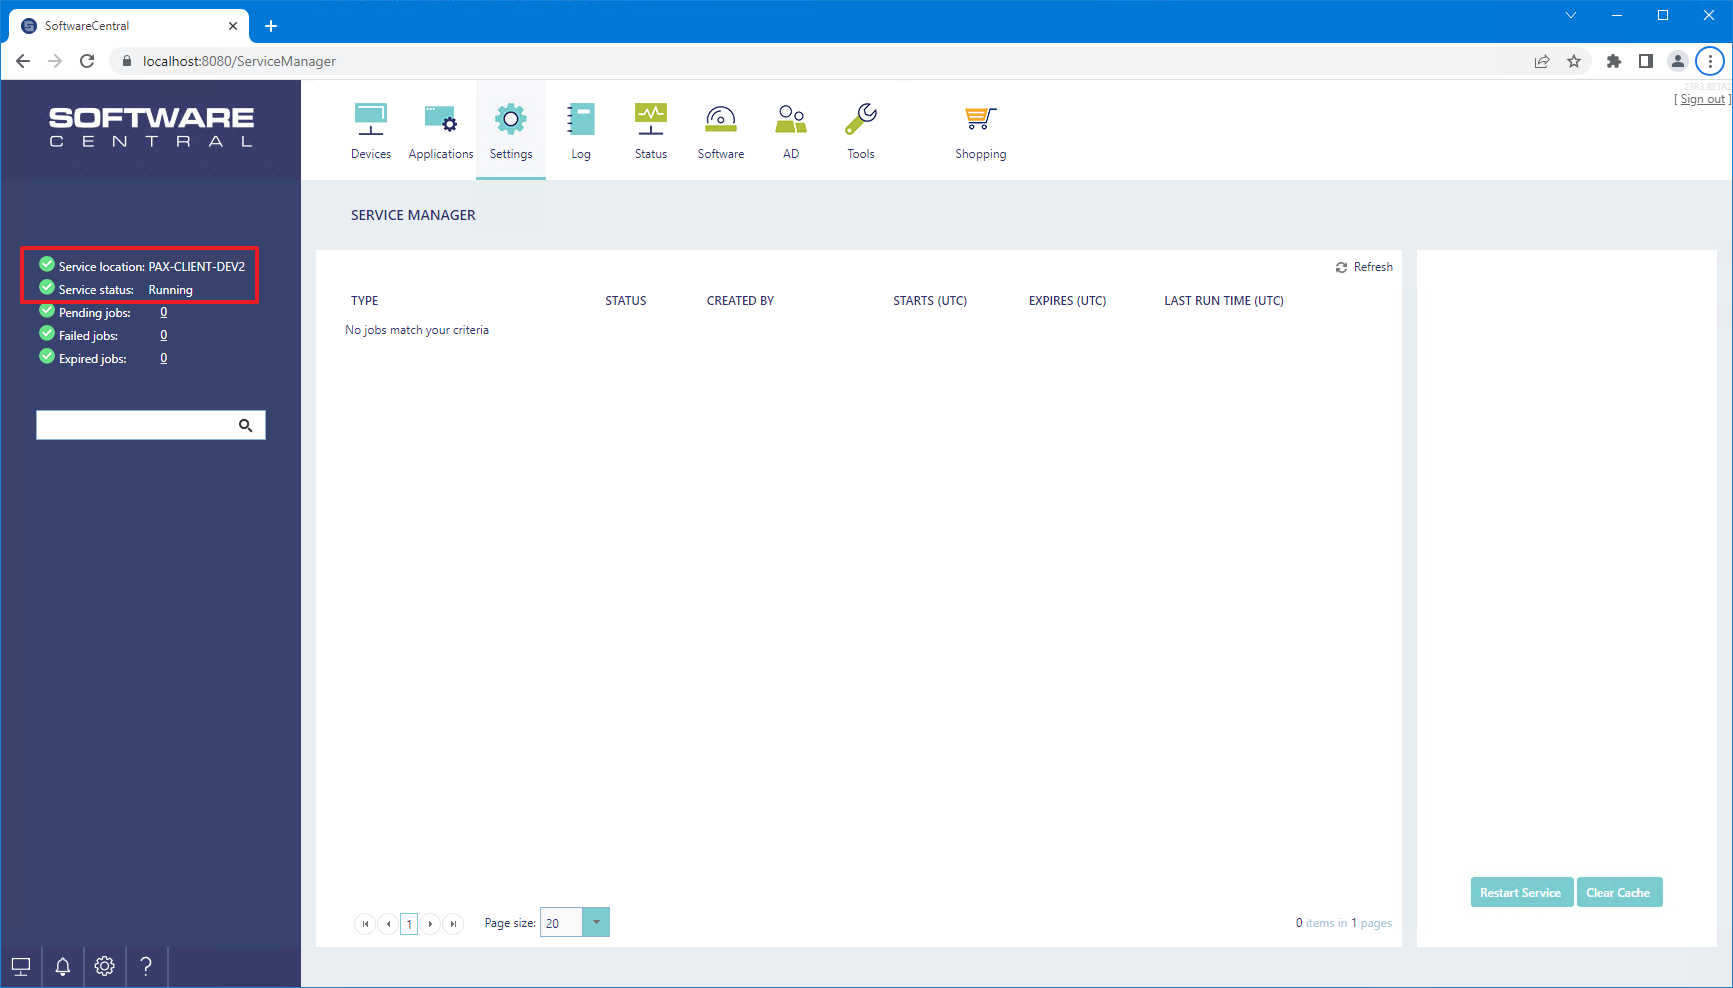
SoftwareCentral uses a Windows service to process long-running tasks and schedules. This service is installed automatically during configuration. To verify it, go to Settings → Service Manager and confirm the service is running. If it is not, open the Log in SoftwareCentral — there will be one or more error messages explaining why, with information on how to resolve them.
8 Improve performance (optional)
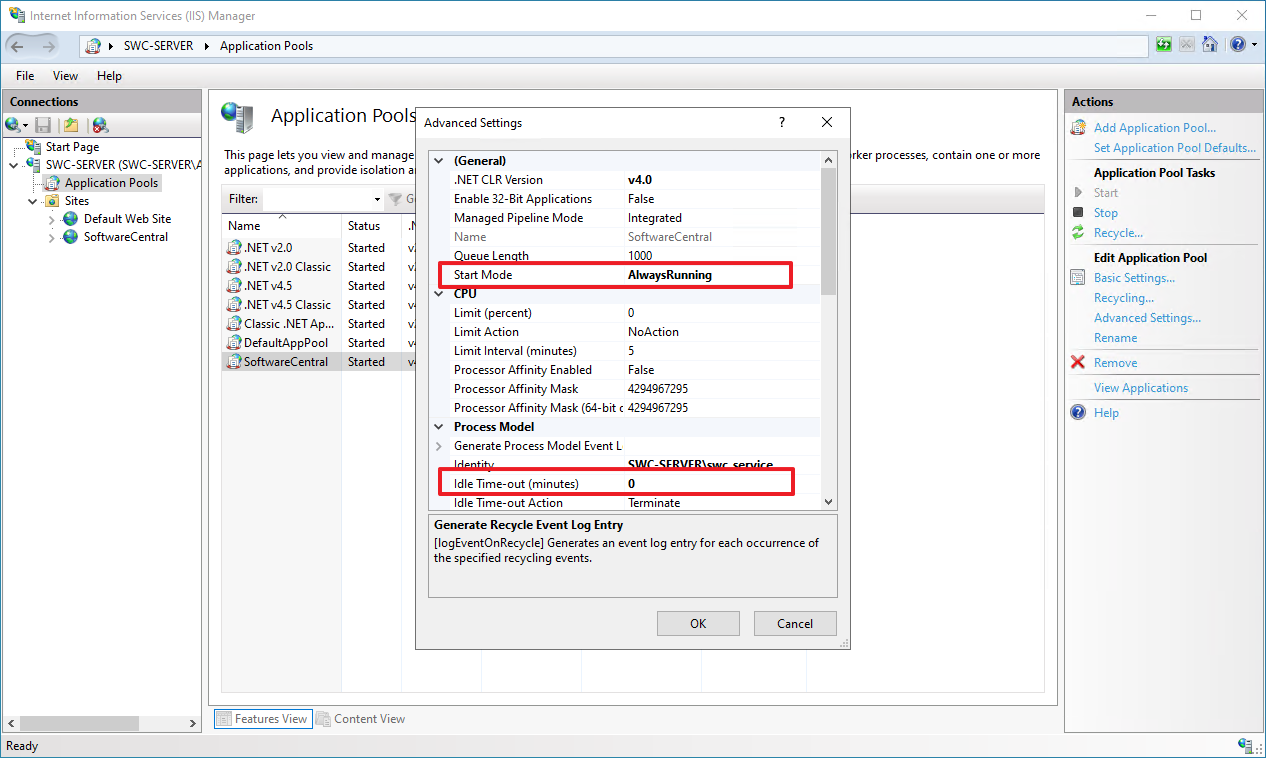
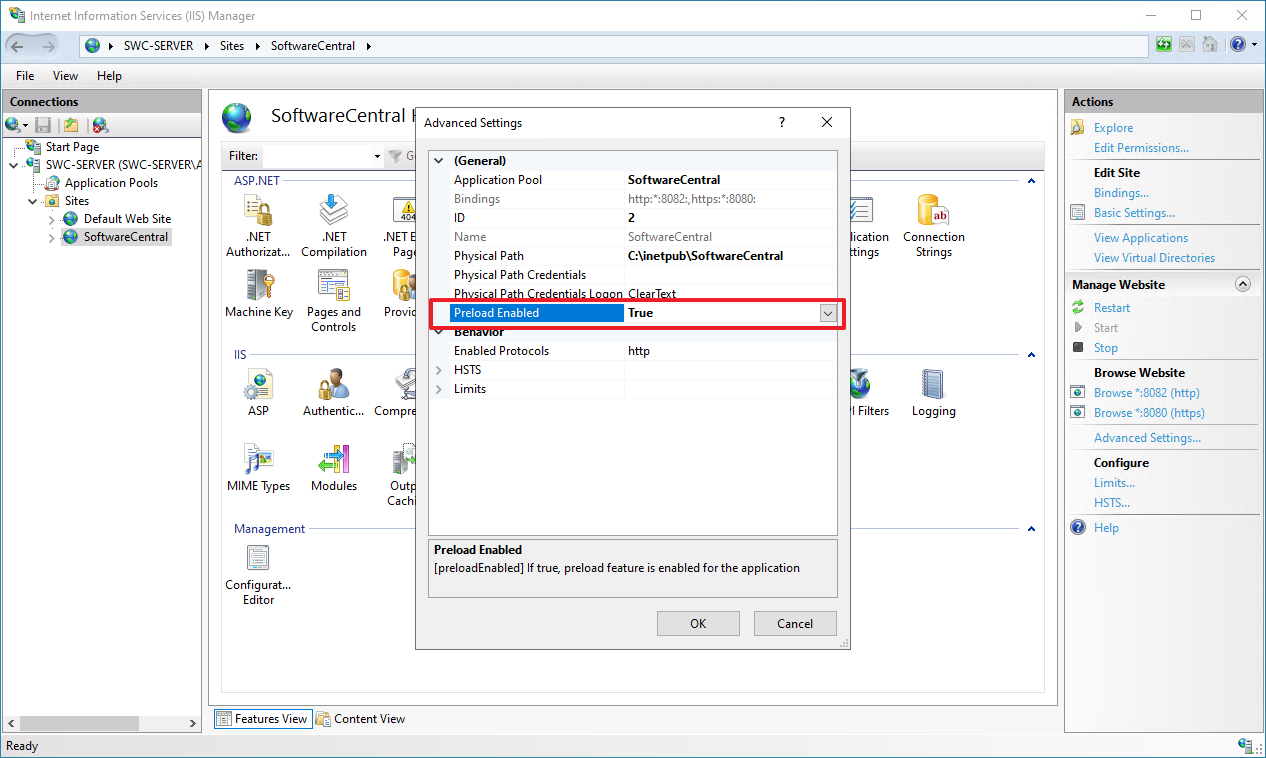
SoftwareCentral is installed with default IIS values. You can improve loading speed with the advanced settings below.
- On the application pool, set Start Mode to
AlwaysRunningand Idle Time-out (minutes) to0. You may additionally extend or disable application pool recycling, although this is not recommended. - On the site, under Advanced Settings, set Preload Enabled to
True.
9 Set up remote access
The basic configuration is now complete. To let users reach SoftwareCentral from their own browsers, set up a host name with an SSL certificate. Continue to Hostname & HTTPS.
📄 Original page: Configure SoftwareCentral for the first time