1 Overview
Open it from Applications › Package Wizard.
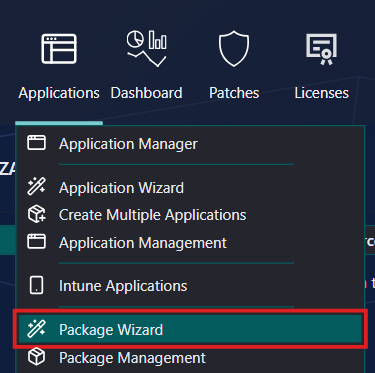
The Package Wizard in SoftwareCentral is used to import packages into SCCM. It is a simple wizard in three steps: Template, Source and Files and Naming. The steps are shown across the top of the wizard, and the step you are on is highlighted.
When you click Create Package on the last step, the wizard creates the package, its collections and advertisements, deploys the package to those collections and distributes it to the distribution points of the template.
Use Next to go to the next step and Previous to go back. Cancel leaves the wizard and clears what you have entered.
2 Template
The first step is Template. Select a template if you want to use predefined settings, or click Next to use the default settings.
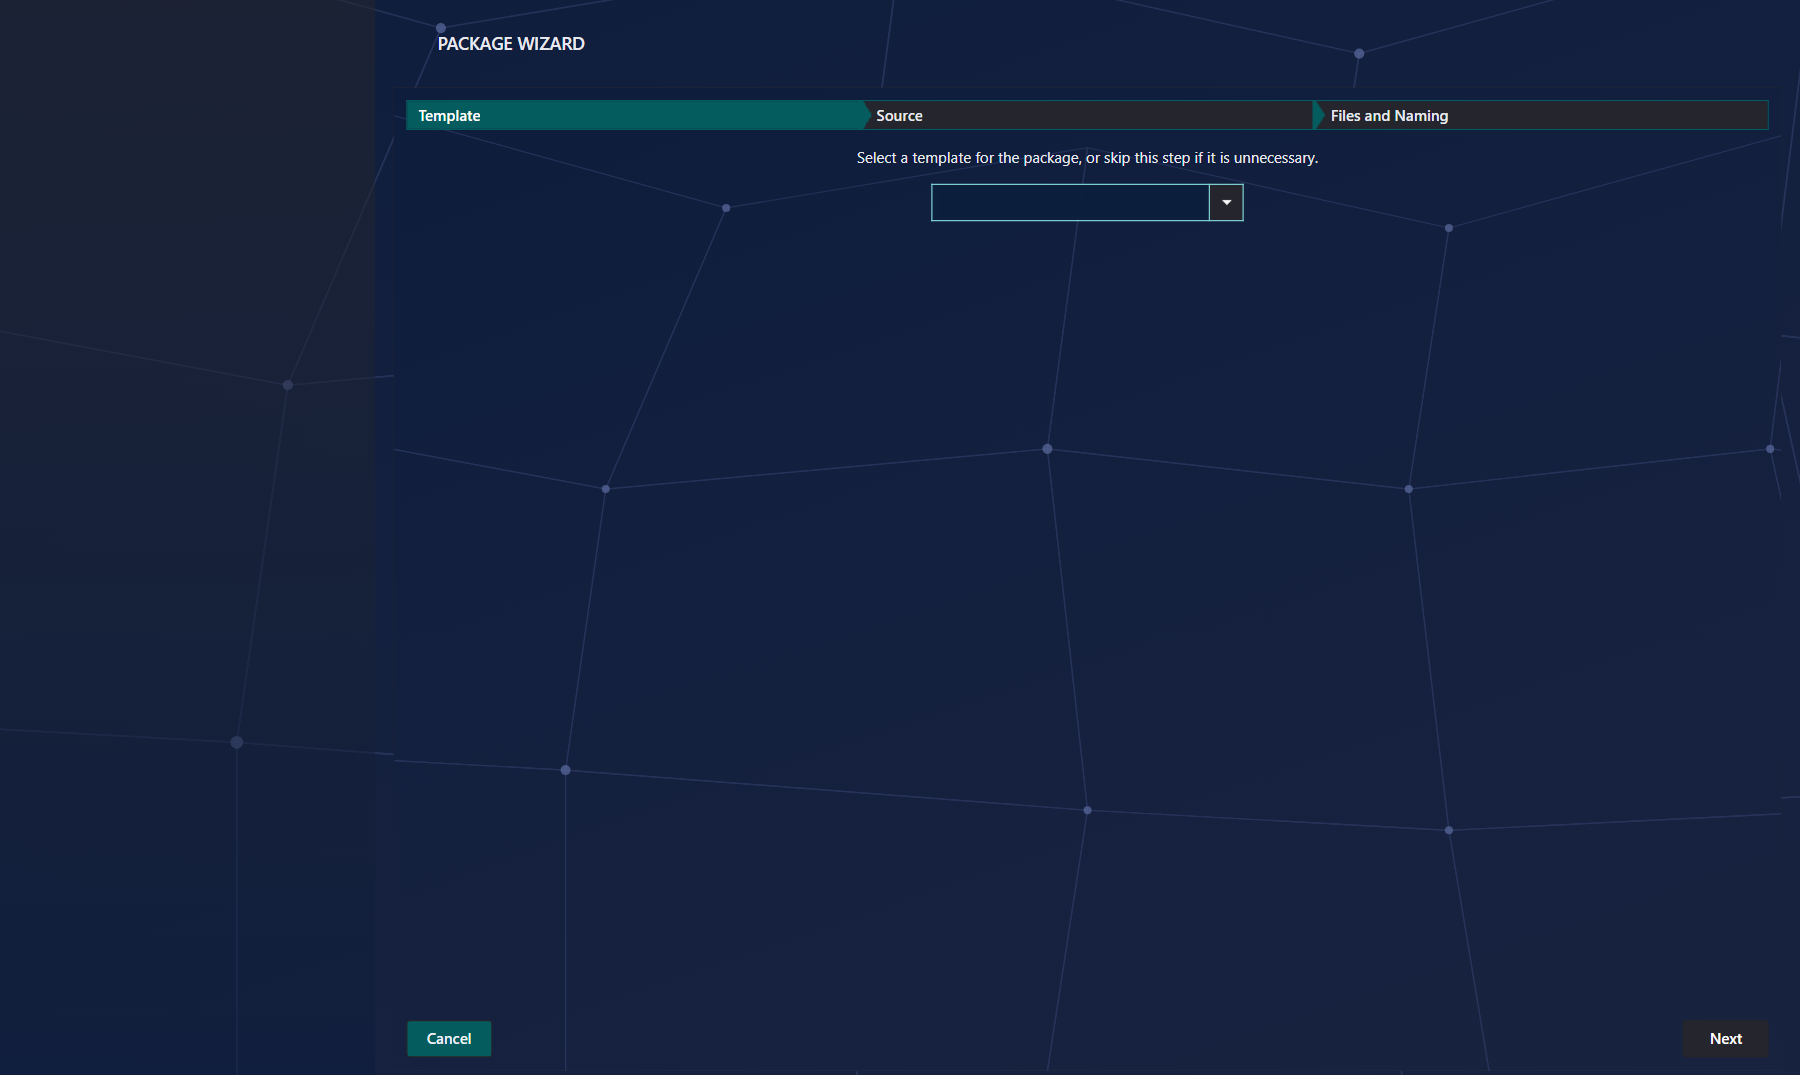
The box lists the templates you have created in Package Templates. The settings of the template you pick are used for the package.
If you leave the box empty, the wizard uses the default package settings: the default program flags and run times, the operating systems, the distribution points, the distribution point groups, the Package Security Groups, the SCCM package folder and the distribution options. The defaults are Mandatory ticked, Priority Normal, source files not compressed, and Automatically download content when packages are assigned to distribution points.
3 Source
In step 2 you must select the folder where the package’s root files are. If the files are not on the share yet, you can upload them in the file explorer.
A folder is selected when it is highlighted or opened. The path to the selected folder is written in the box below the explorer.


| Part of the explorer | What it does |
|---|---|
| Refresh (first icon, Ctrl+R) | Refreshes the current view – for instance if you have added a new folder using Windows Explorer. |
| New folder (second icon, Ctrl+N) | Creates a new folder. |
| Delete (red X, Ctrl+Delete) | Deletes a file or folder. |
| Upload (Ctrl+U) | Uploads one or more files. The maximum file size allowed is 1 GB. If you upload a zip file, it is extracted automatically into a folder with the same name, and the zip file is removed. |
| Filter by | Searches for files and folders in the folder. |
| < and > with Current Page | Only 100 files or folders can be displayed at once. Use the arrows to change page, or search for the item you are looking for. |
| Path box below the explorer | The path to the selected root folder is written here. Enter opens the highlighted folder, and Ctrl+Backspace goes back. |
Click Next to go to step 3. You cannot continue without a folder: You must select a root folder is shown if no folder is selected, and Invalid folder is shown if you selected the package share itself rather than a folder in it.
4 Files and Naming
In step 3 you must select the files used to install the package, and name the package. SoftwareCentral tries to detect the files and the name from the folder you selected.
First choose the Type of installer. The fields below change with the type:
| Type | Files you give |
|---|---|
| Windows Installer (*.msi file) | Installation program: type the path or click Browse.... After you choose an MSI file, Add Transform File becomes available for a transform (MST) file. |
| Script Installer (scripts and executables) | Installation program and Uninstall program, each with Browse.... |

If SoftwareCentral has made suggestions, the Discard Auto Suggestions button is shown. Click it to discard the auto suggestions.
Under Naming enter Manufacturer, Name, Version and Language. The language can be picked from the list or typed. If you wish to read the name from an msi file in the source folder, click Read name from MSI. This opens a file explorer where you can select the msi file to read the name from.
The package name is built from these fields. The manufacturer is only part of the name if your administrator has enabled that setting.
5 Create the package
When the files and the name are filled in, click Create Package to create the package.
The wizard creates the package with its install and uninstall programs, and then:
| What is created | Taken from |
|---|---|
| Collections and advertisements | The install and uninstall settings and the advertisement flags of the template (or the default settings). |
| Distribution points | The distribution points selected in the template. The content is copied to each point in the background. |
| Distribution point groups | The groups selected in the template. They are only added on a ConfigMgr 2012 site. |
| Package Security Groups | The Package Security Groups selected in the template. |
| SCCM package folder | The folder selected in the template, if one is selected. |
The package description is Created by SoftwareCentral. If your administrator has enabled it, the name of the user who created the package is added: Created by followed by the user name.
If the wizard finds a problem before it creates the package, it returns you to the step with the problem and shows the message there. If creation fails part way, the error is written to the Log. See Troubleshooting below.
6 Verify the package creation
To verify that the package has been created, you can use the Log in SoftwareCentral or the notifications popup.
If nothing is marked as an error with the  icon in the log, the package has been created successfully.
If the package could not be created, the log holds a critical entry Failed to create package. with the details of the error.
7 See also
8 Best practice
- Put each package in its own folder on the package share and select that folder, so the wizard can suggest the installer and the name.
- Set the distribution points, distribution point groups, Package Security Groups and SCCM folder in a template, not on each package. The wizard copies them from the template into every package it creates.
- Check Manufacturer, Name, Version and Language before you click Create Package. A package with the same four values cannot be created again.
- Check the Log after each import. A package that failed is reported there with Failed to create package.
9 Troubleshooting
| Symptom | Cause | What to do |
|---|---|---|
| “You must select a root folder” | Step 2 has no folder selected. | Select a folder in the explorer, then click Next. |
| “Invalid folder” | The package share itself is selected, not a folder inside it. | Open a folder inside the package share and select it. |
| “No installation program defined” | Neither the MSI nor the script installation program is filled in on step 3. | Click Browse... next to Installation program and choose the file, or type its path. |
| “You must enter a name for the application” | The Name box is empty. | Type a name. |
| “This name already exists” | A package with the same Manufacturer, Name, Version and Language already exists on this site. | Change one of the four values. |
| “Invalid package name” at the bottom of step 3 | The name cannot be used: it is empty, or a package with the same name exists. | Fix the name as described in the two rows above. |
| The Log shows “Failed to create package.” | An error stopped the creation. The entry holds the details of the error. | Open the entry in the Log, fix the cause, and create the package again. |